
This guide describes how to set up Junk E-mail Options and explains the spam indicators in email subjects.
Applicable to: Exchange On-premises mailbox users, Exchange Online mailbox users.
In Outlook, Emails marked as spam are automatically moved to the Junk Email folder.
For emails marked as spam, if confirmed to be legitimate communication emails, you may perform a temporary release or add them to the Safe Senders on your own. If you cannot verify the legitimacy and security of an email, contact IT for assistance in judgment.
Note:
- If you use the built-in Mail app on a Mac to send and receive emails, managing the Safe Senders and Blocked Senders is currently unavailable. To use these functions, set them up via Outlook on the web.
- If you need to set up Safe Senders and Blocked Senders for a shared mailbox, this cannot be done in the Outlook client. Please use Outlook on the web to configure these settings.
To learn how to use a shared mailbox on the web, first sign in to your own mailbox on the web. Then click on your profile picture in the top right corner and select Open another mailbox, enter the address of the shared mailbox, and choose Open. For more details, visit here. - Unless otherwise specified, the following content applies universally to users of both Exchange On-Premises and Exchange Online mailboxes.
Quickly navigate to the content you need:
- How to Set Up Junk Email Options
How to Set Up Junk Email Options - In Classic Outlook on Windows
-
How to release Junk Email
-
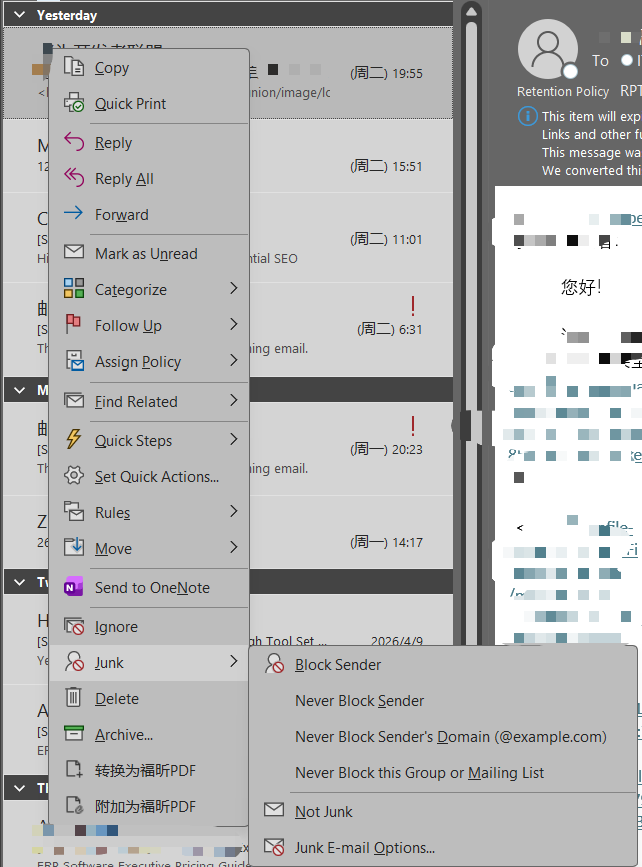
In the Junk Email folder, right-click the message, and select Not Junk from the Junk menu.
-
In the Mark as Not Junk pop-up window, check the Always trust e-mail from "xxx@xxx" option, then click OK. The message will be moved back to the Inbox folder.
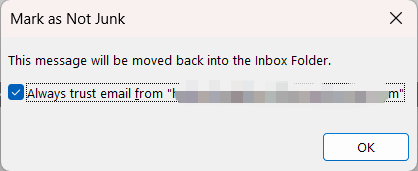
Note: Checking Always trust... is equivalent to adding "xxx@xxx" to the Safe Senders list. If you only want to release the message temporarily, you do not need to check this option.
-
-
How to add to the Safe Senders
-
In any mail folder, go to the Junk option in the right-click menu of the message, then select Never Block Sender or Never Block Sender's Domain. The addition is complete.
-
-
How to remove from the Safe Senders
-
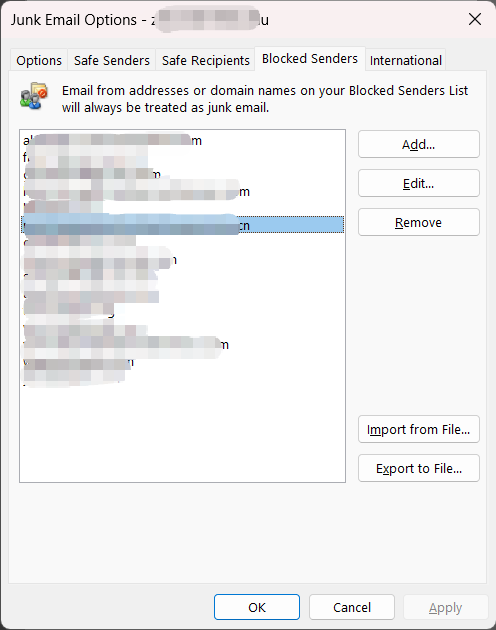
From the Junk menu, select Junk Email Options, go to the Safe Senders tab, select the email address you want to remove, click Remove on the right, and then click OK to finish removing it.

-
-
How to add to the Blocked Senders
- In any mail folder, go to the Junk option in the right-click menu of the message, then select Block Sender.
-
In the pop-up window, click OK. The message will be moved to the Junk Email folder. The addition is complete.

- In any mail folder, go to the Junk option in the right-click menu of the message, then select Block Sender.
-
How to remove from the Blocked Senders
-
From the Junk menu, select Junk Email Options. Go to the Blocked Senders tab, select the email address you want to remove, click Remove on the right, and then click OK to finish removing it.
-
How to Set Up Junk Email Options - In New Outlook on Windows (Exchange Online)
-
How to release Junk Email
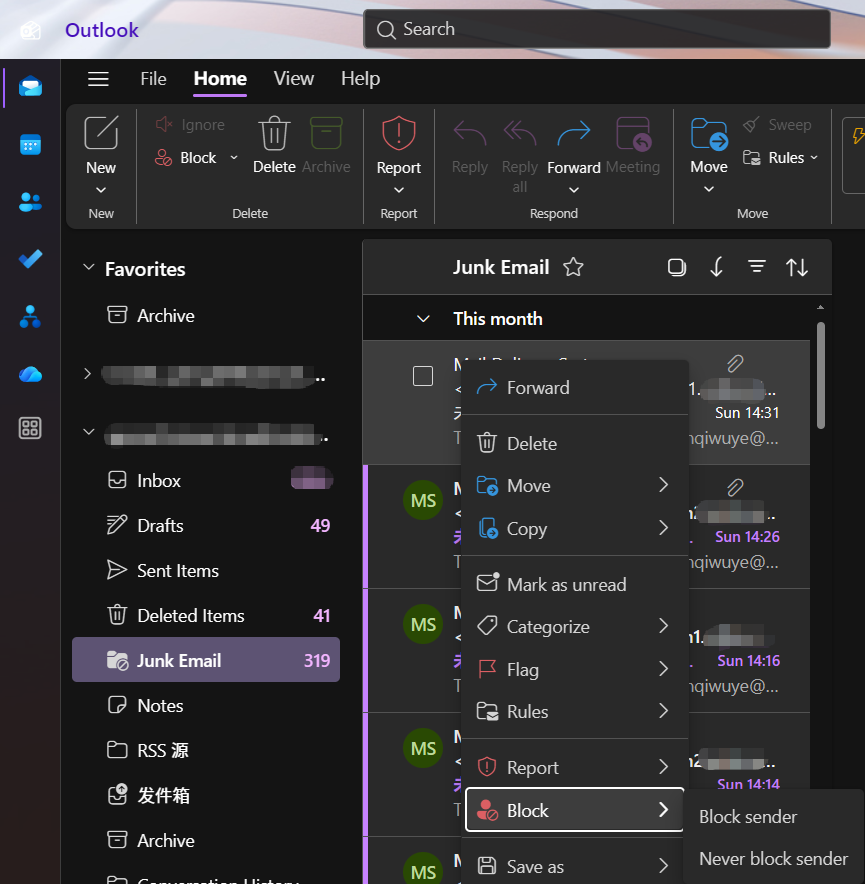
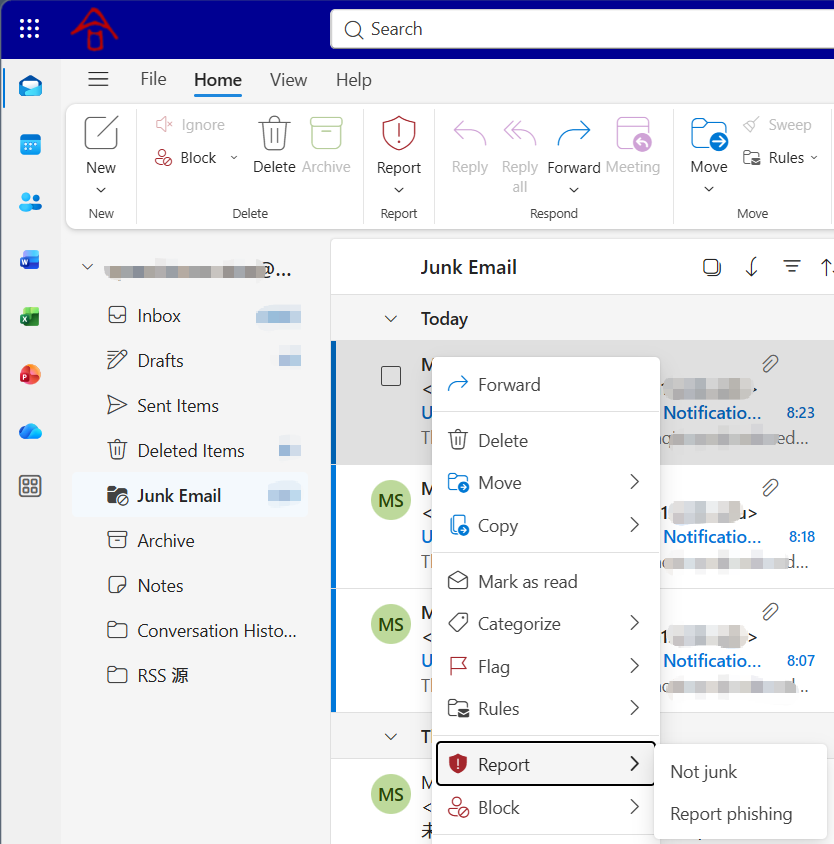
- In the Junk Email folder, go to the Report menu in the right-click menu of the message, then select Not Junk.

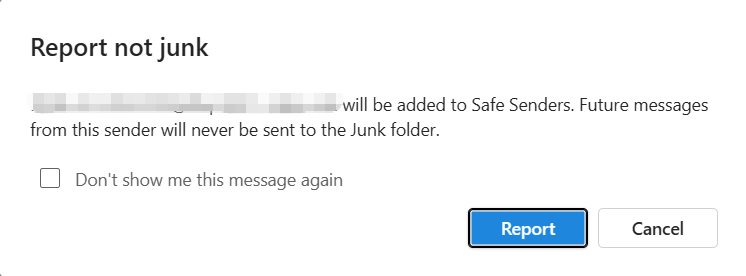
- In the Report Not Junk pop-up window, click Report. This message will be moved back to the Inbox folder, and the sender will be added to the Safe Senders list.

- In the Junk Email folder, go to the Report menu in the right-click menu of the message, then select Not Junk.
-
How to add to the Safe Senders
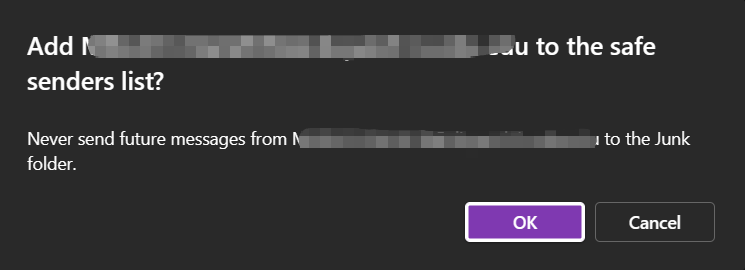
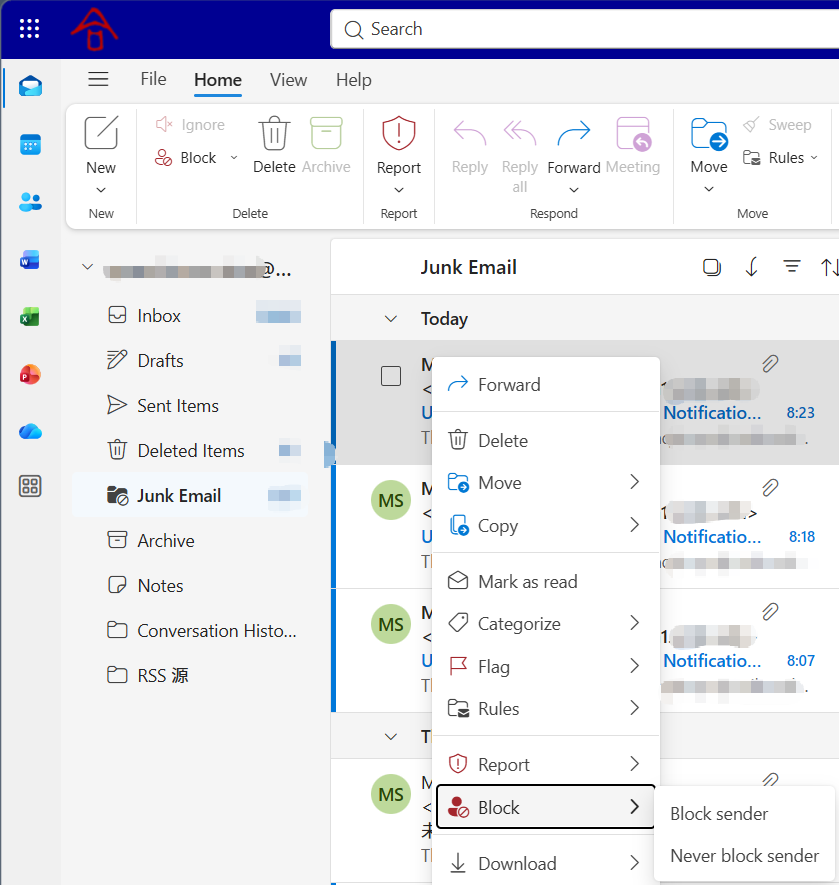
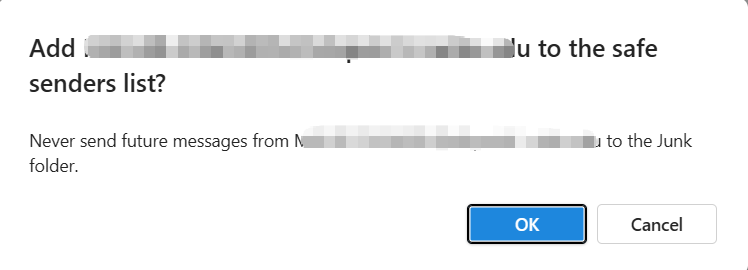
- In any mail folder, go to the Block option in the right-click menu of the message, then select Never Block Sender.
- In the pop-up window, click OK. The sender will be added to the Safe Senders list.
- In any mail folder, go to the Block option in the right-click menu of the message, then select Never Block Sender.
-
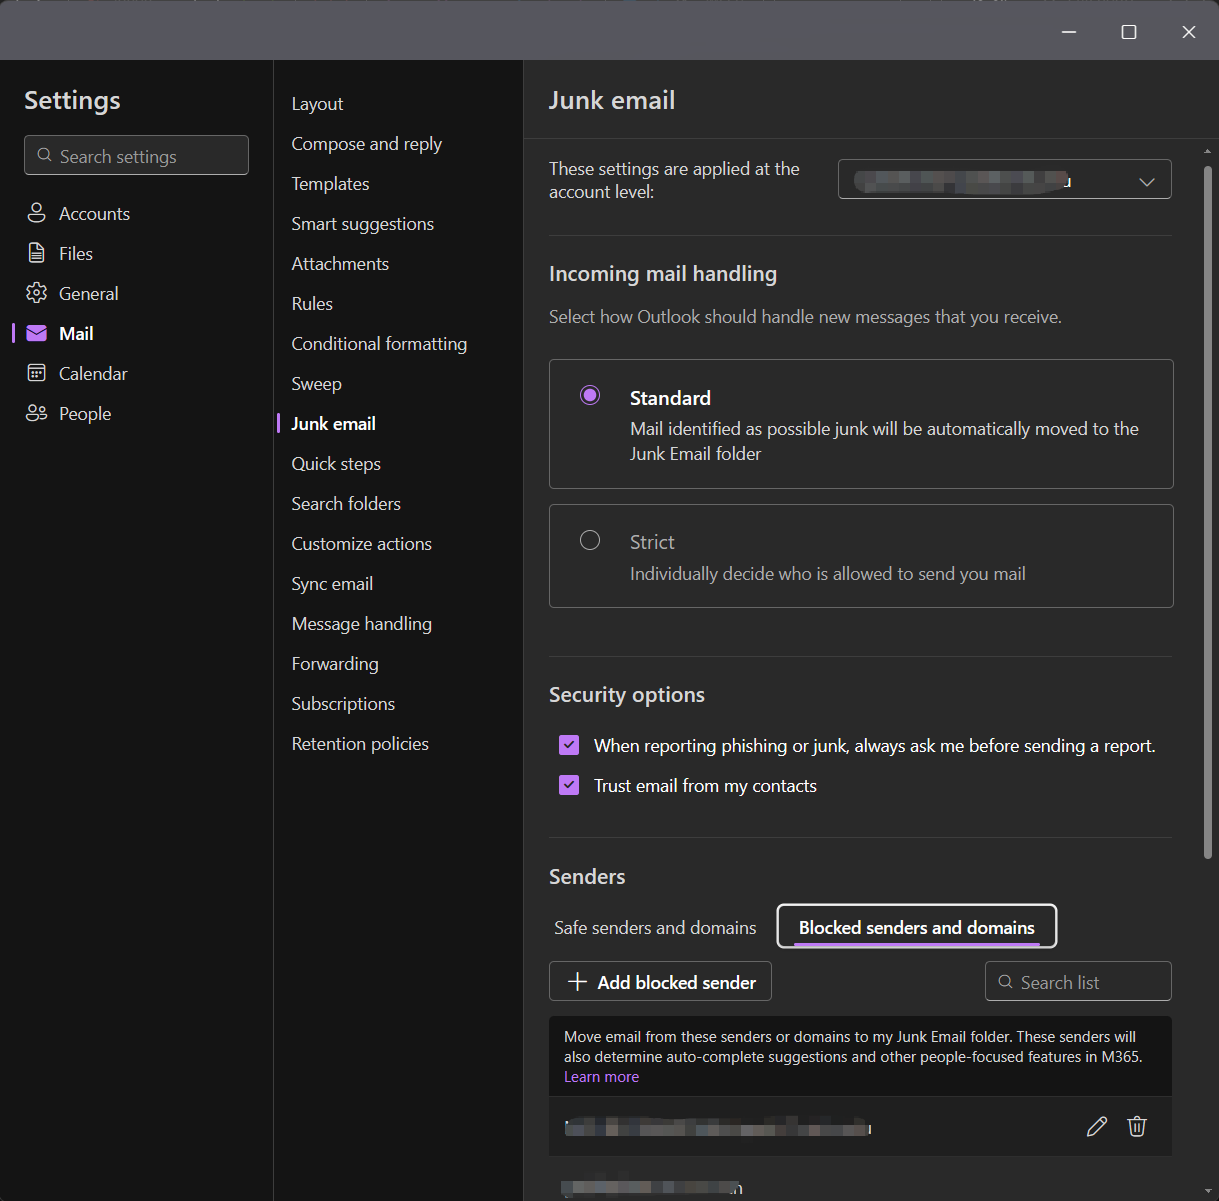
How to remove from the Safe Senders
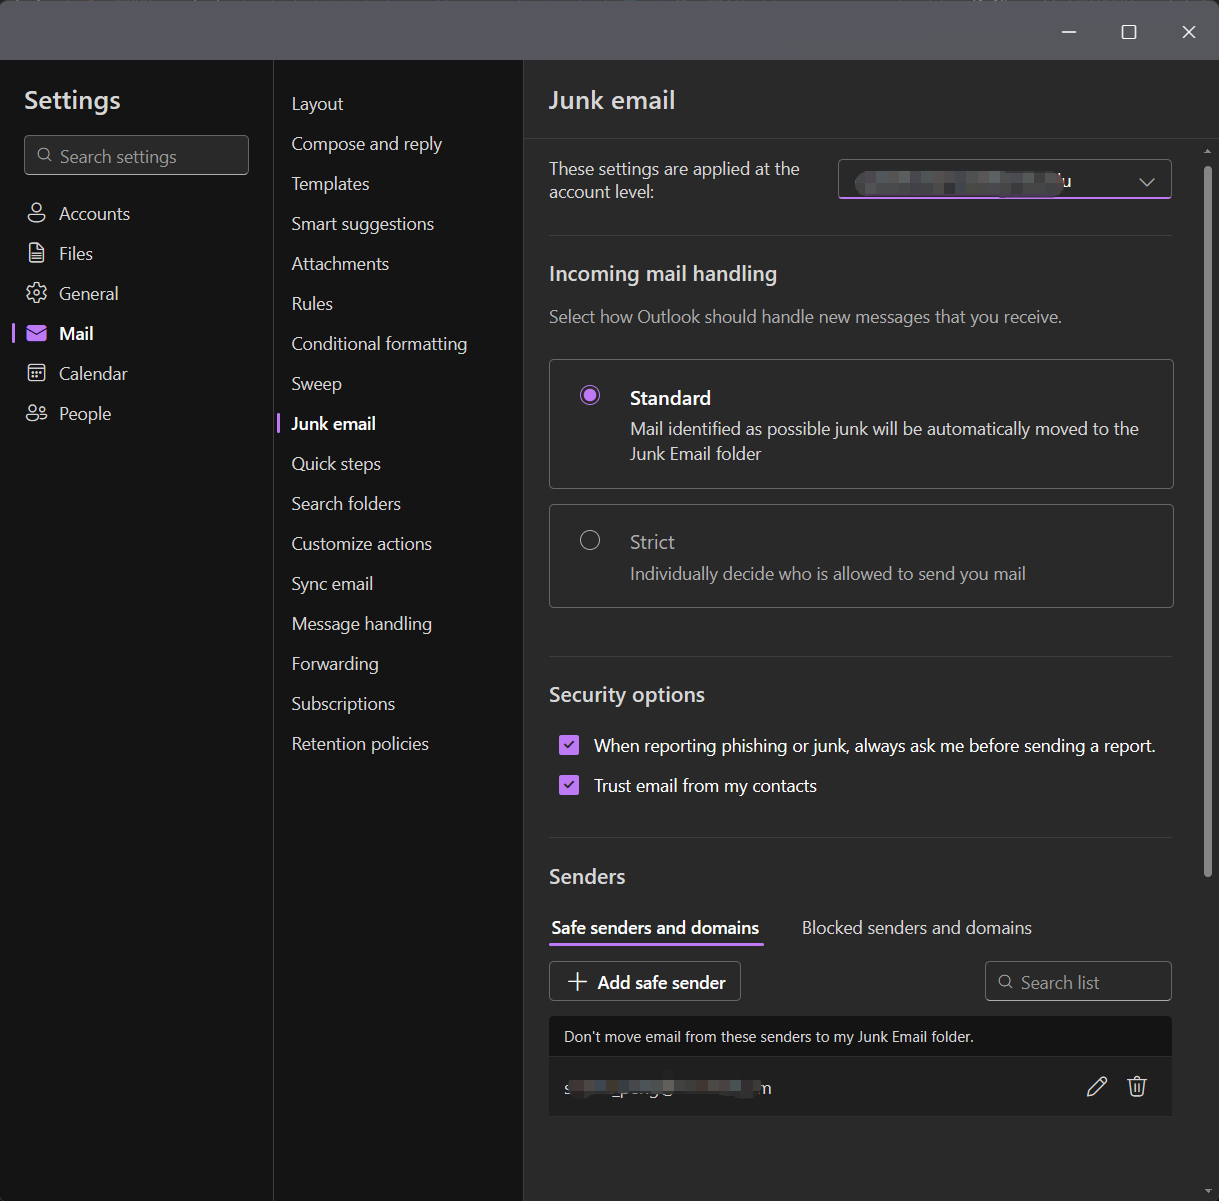
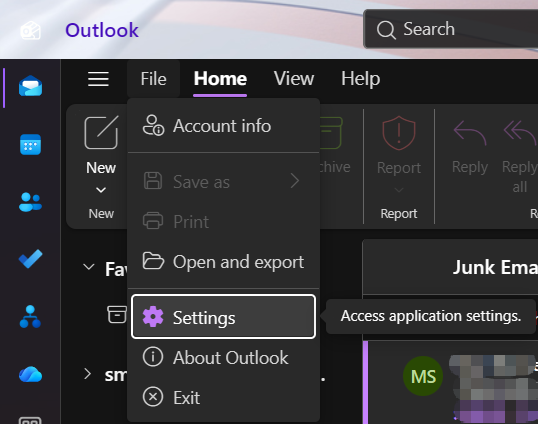
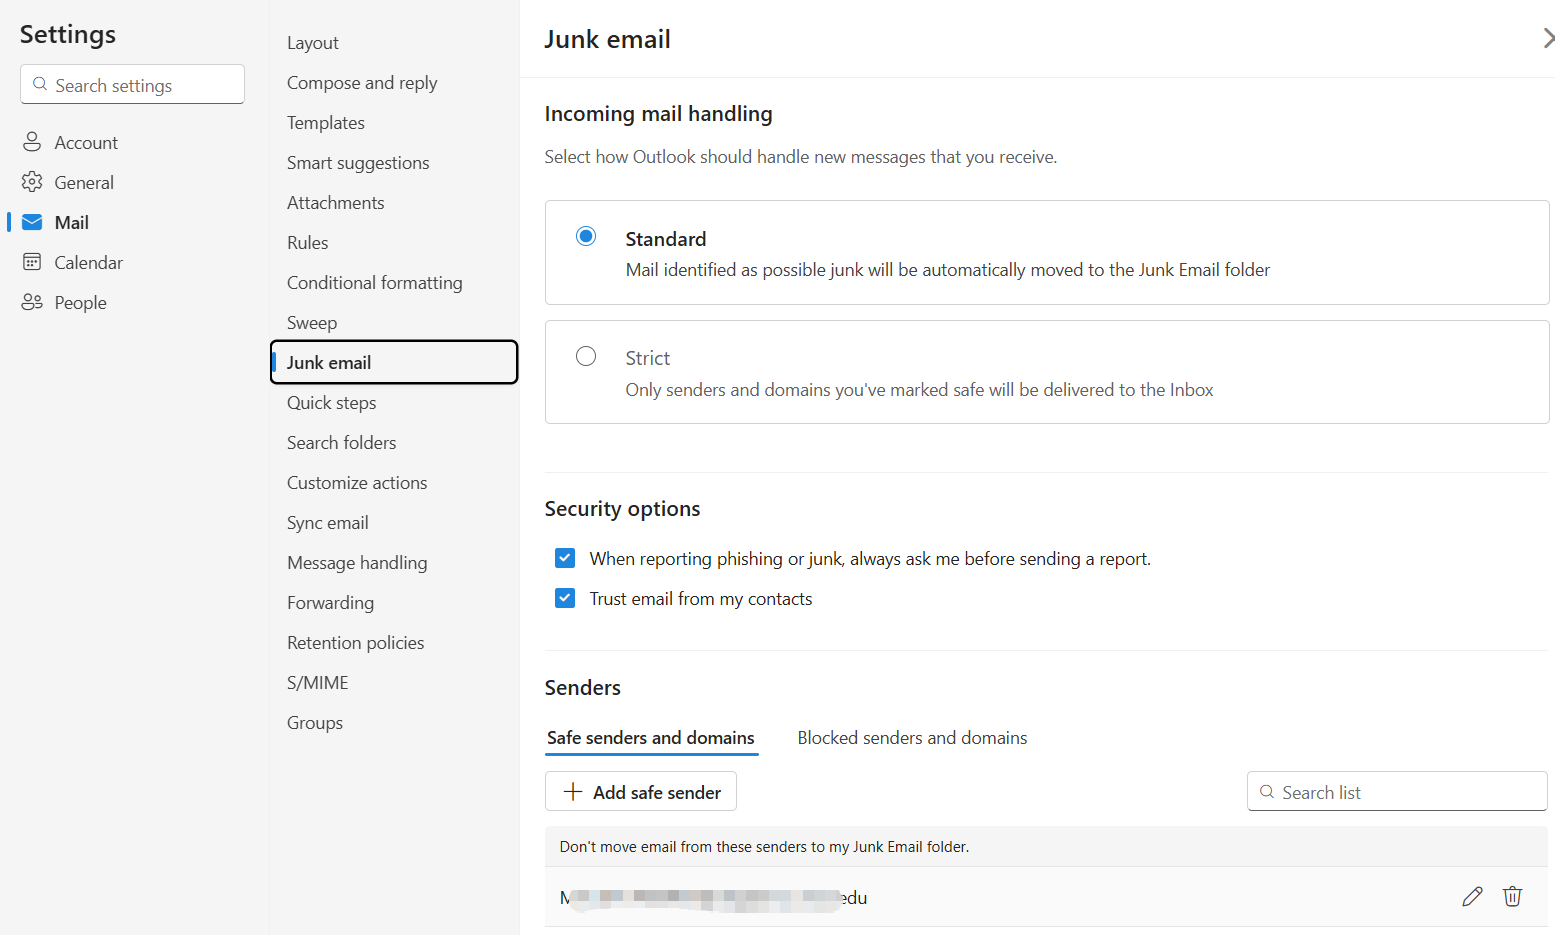
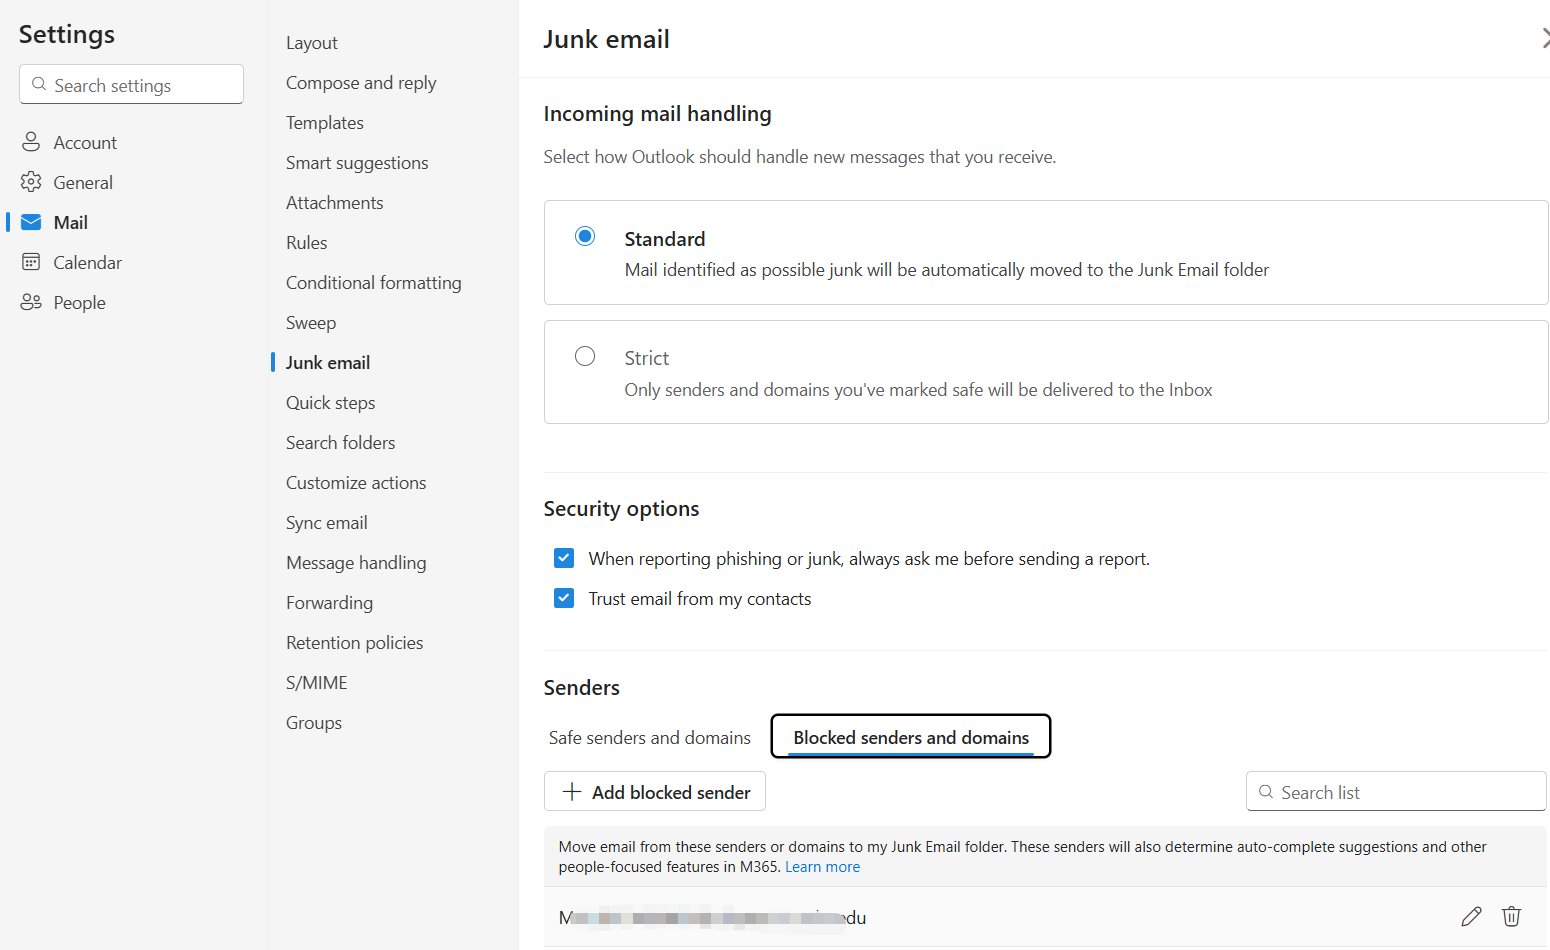
- In the upper-left corner of Outlook, select Home > Settings.
- In the left menu, select Mail > Junk email. In the Safe senders and domains, select the email address you want to remove, click the Remove🗑️icon, and then click Save to finish.
- In the upper-left corner of Outlook, select Home > Settings.
-
How to add to the Blocked Senders
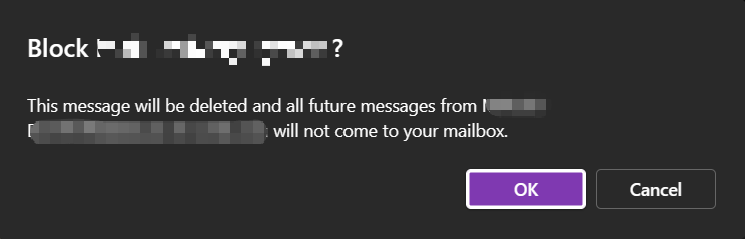
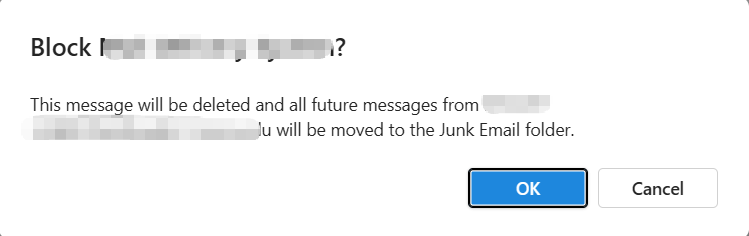
- In any mail folder, go to the Block option in the right-click menu of the message, then select Block Sender.
- In the pop-up window asking "Block xxx?", click OK. This message will be deleted, and the sender will be added to the Blocked Senders list.
- In any mail folder, go to the Block option in the right-click menu of the message, then select Block Sender.
-
How to remove from the Blocked Senders
- In the upper-left corner of Outlook, select Home > Settings.
- In the left menu, select Mail > Junk email. In the Blocked senders and domains list, select the email address you want to remove, click the Remove🗑️icon, and then click Save to finish.
- In the upper-left corner of Outlook, select Home > Settings.
How to Set Up Junk Email Options - In Legacy Outlook on macOS
-
How to release Junk Email
- In the Junk Email folder, select Mark as Not Junk from the Junk Mail option in the right-click menu of the message. The message will be moved back to the Inbox folder.
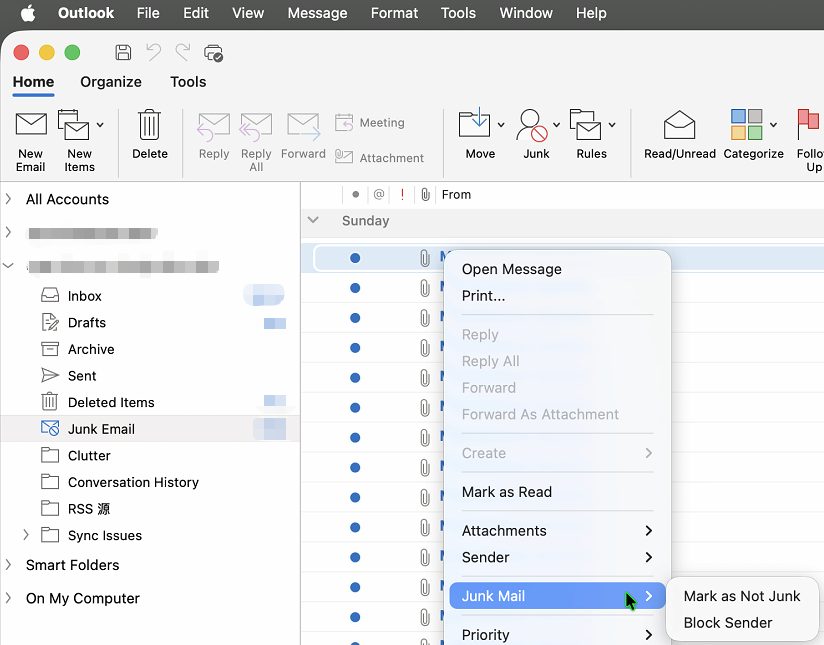
- In the Junk Email folder, select Mark as Not Junk from the Junk Mail option in the right-click menu of the message. The message will be moved back to the Inbox folder.
-
How to add or remove from the Safe Senders and Blocked Senders (Not Available)
- Currently, the legacy Outlook for macOS does not support directly viewing or managing the Safe Senders. The Block Sender option in the Junk menu is unavailable, and Junk Email Preferences in the Junk menu is also unavailable. To use these functions, set them up via the classic Outlook for Windows or Outlook on the web.
- Currently, the legacy Outlook for macOS does not support directly viewing or managing the Safe Senders. The Block Sender option in the Junk menu is unavailable, and Junk Email Preferences in the Junk menu is also unavailable. To use these functions, set them up via the classic Outlook for Windows or Outlook on the web.
Back to Top⬆
How to Set Up Junk Email Options - In New Outlook on macOS
-
How to release Junk Email
- In the Junk Email folder, select Not Junk from the Report option in the right-click menu of the message. The message will be moved back to the Inbox folder.
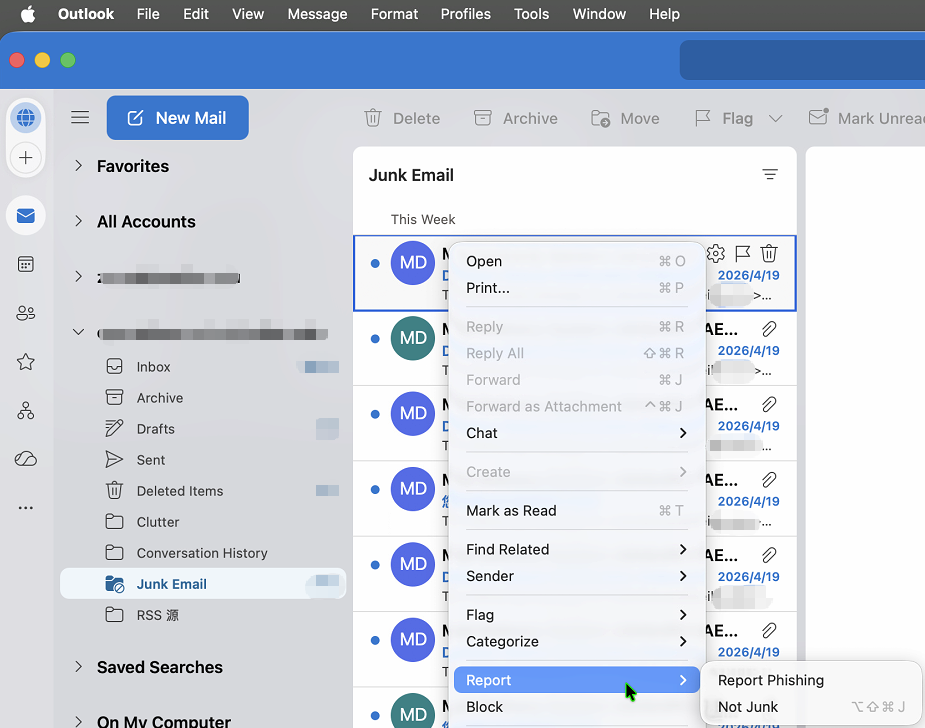
- In the Junk Email folder, select Not Junk from the Report option in the right-click menu of the message. The message will be moved back to the Inbox folder.
-
How to add or remove from the Safe Senders (Exchange Online)
- From the top menu bar, select Tools > Junk Email Preferences.
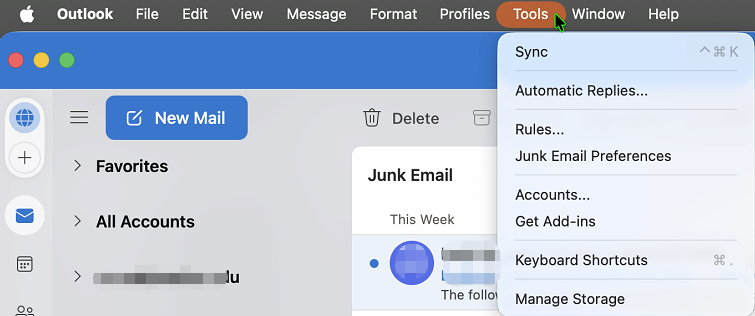
- Select Junk > Safe Senders. Use the plus ➕ button at the bottom to add entries, and the minus ➖ button to delete them.
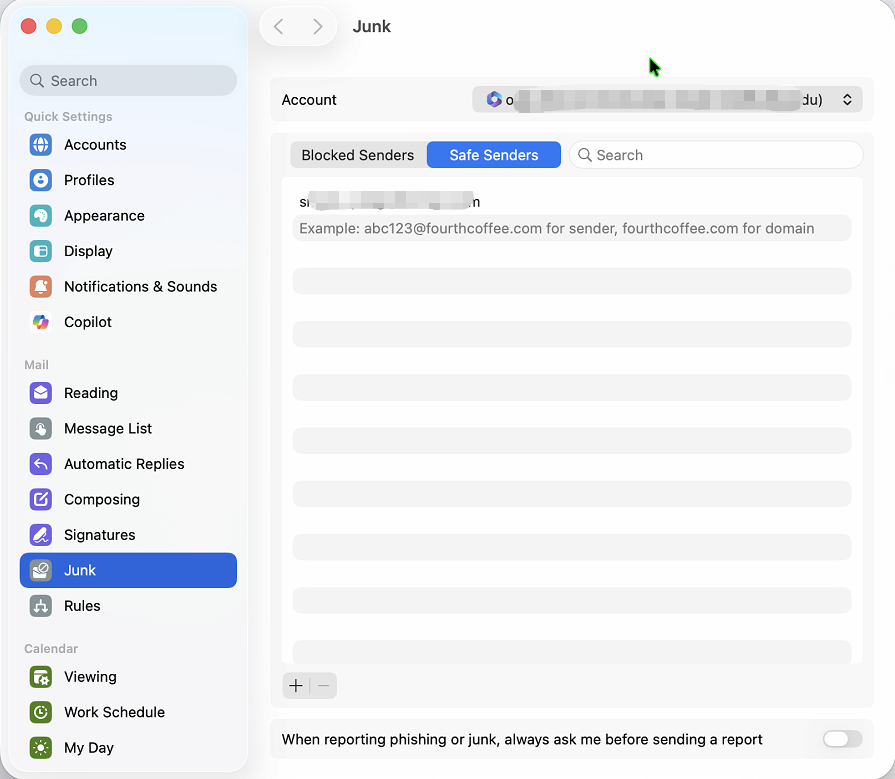
- From the top menu bar, select Tools > Junk Email Preferences.
-
How to add to the Blocked Senders (Exchange Online)
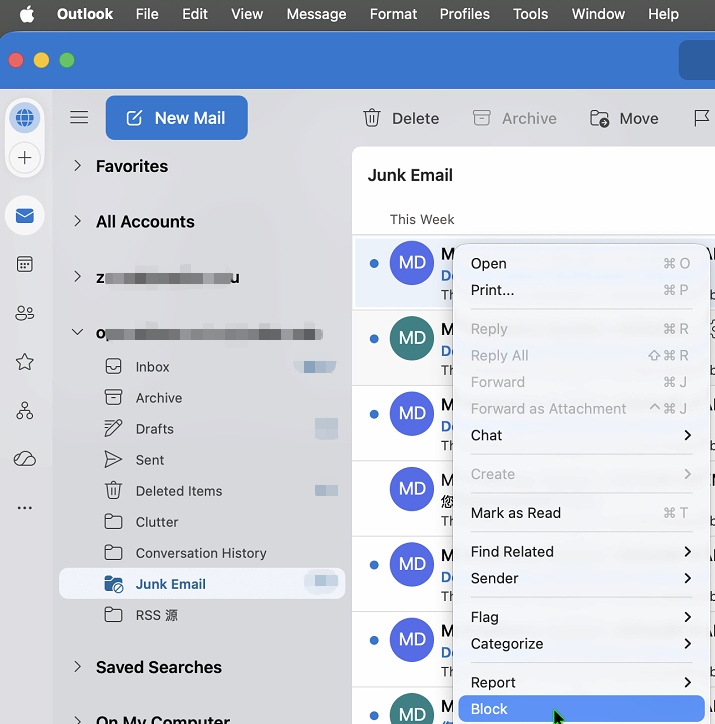
- In any email folder, select Block from the right-click menu.
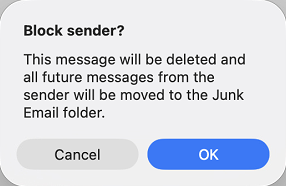
- In the pop-up window of "Block sender?", click OK. This message will be deleted, and the sender will be added to the Blocked Senders list.
- In any email folder, select Block from the right-click menu.
-
How to remove from the Blocked Senders (Exchange Online)
- From the top menu bar, select Tools > Junk Email Preferences.
- Select Junk > Blocked Senders, use the minus ➖ button to delete them.
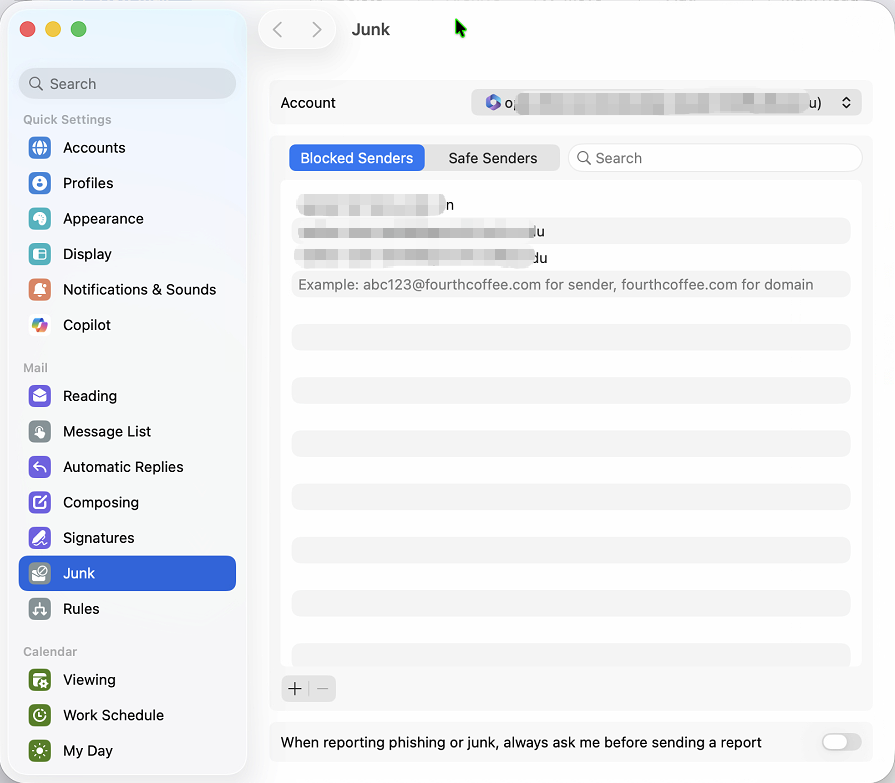
- From the top menu bar, select Tools > Junk Email Preferences.
How to Set Up Junk Email Options - In Outlook on the web (Exchange On-Premises)
-
How to release Junk Email & How to add to the Safe Senders
- In the Junk Email folder, go to the right-click menu of the message, then select Mark as not junk. This message will be moved back to the Inbox folder.
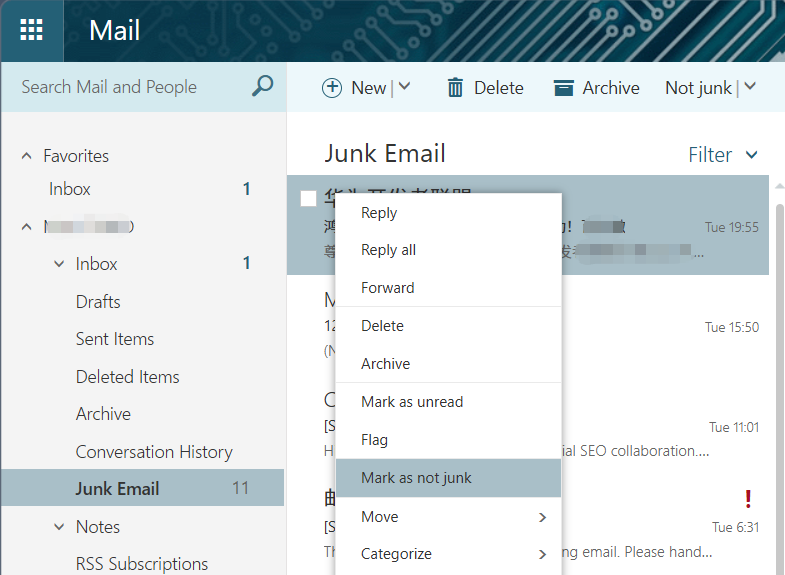
Note: It's the same as adding the email sender to the Safe Senders. For temporary release, use Move > Inbox in the right-click menu instead of selecting Mark as Not Junk.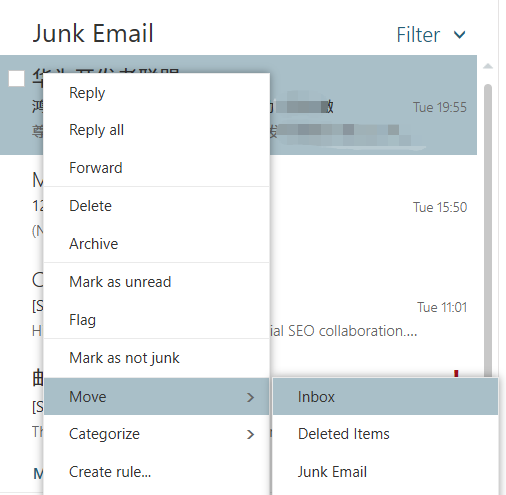
- In the Junk Email folder, go to the right-click menu of the message, then select Mark as not junk. This message will be moved back to the Inbox folder.
-
How to remove from the Safe Senders
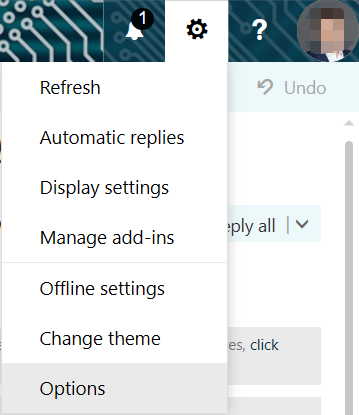
- Click the Settings⚙icon in the top-right corner, select Options.
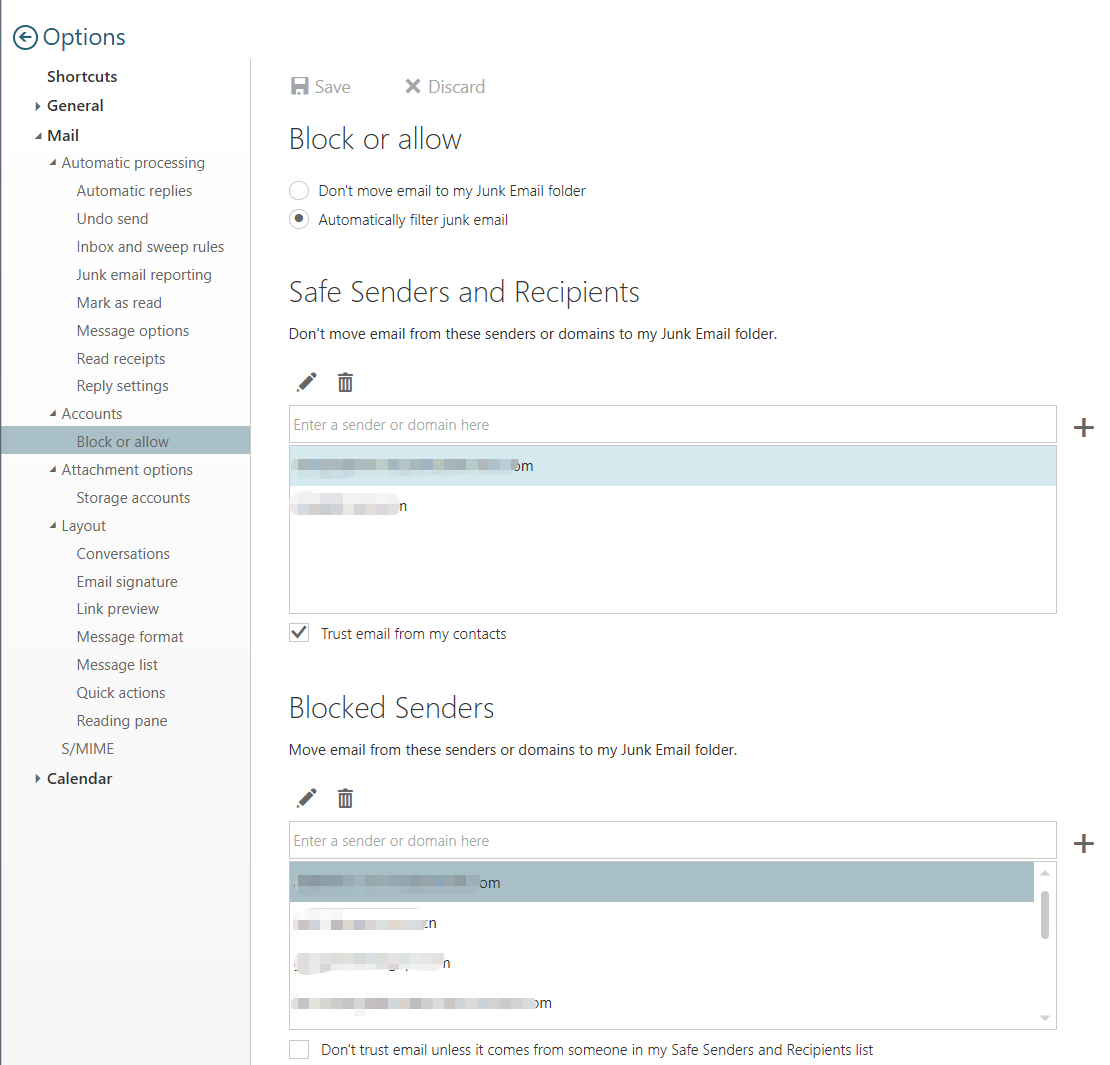
- In the left menu, select Mail > Accounts > Block or allow. In the Safe Senders and Recipients list, select the email address you want to remove, click the Remove🗑️icon, and then click Save to finish.
- Click the Settings⚙icon in the top-right corner, select Options.
-
How to add to the Blocked Senders
- In any email folder other than the Junk Email folder, go to the right-click menu of the message, then select Mark as Junk. This message will be moved to the Junk Email folder, and the sender will be added to the Blocked Senders list.
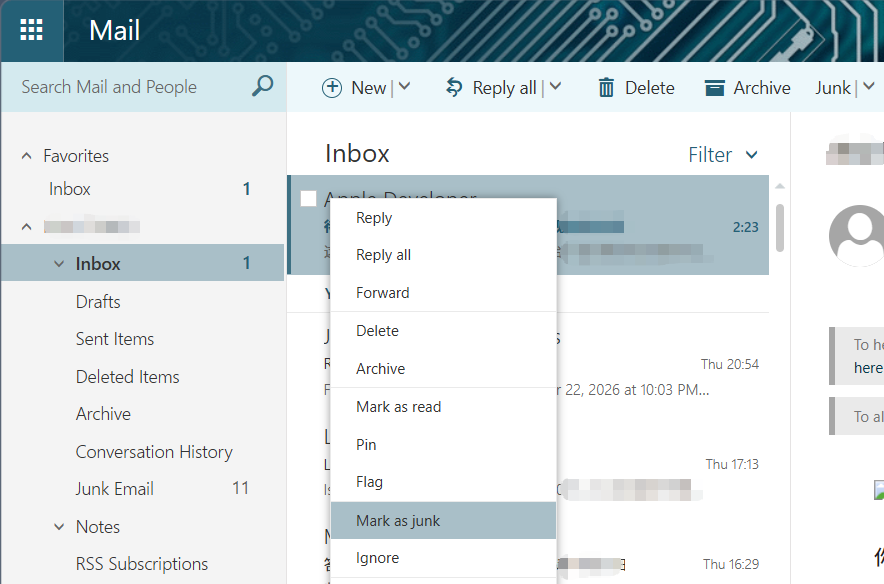
- In any email folder other than the Junk Email folder, go to the right-click menu of the message, then select Mark as Junk. This message will be moved to the Junk Email folder, and the sender will be added to the Blocked Senders list.
-
How to remove from the Blocked Senders
- Click the Settings⚙icon in the top-right corner, select Options.
- In the left menu, select Mail > Accounts > Block or allow. In the Blocked Senders list, select the email address you want to remove, click the Remove🗑️icon, and then click Save to finish.
- Click the Settings⚙icon in the top-right corner, select Options.
How to Set Up Junk Email Options - In Outlook on the web (Exchange Online)
-
How to release Junk Email
- In the Junk Email folder, go to the Report menu in the right-click menu of the message, then select Not Junk.
- In the Report Not Junk pop-up window, click Report. This message will be moved back to the Inbox folder, and the sender will be added to the Safe Senders.
- In the Junk Email folder, go to the Report menu in the right-click menu of the message, then select Not Junk.
-
How to add to the Safe Senders
- In any mail folder, go to the Block option in the right-click menu of the message, then select Never Block Sender.
- In the pop-up window, click OK. The sender will be added to the Safe Senders.
- In any mail folder, go to the Block option in the right-click menu of the message, then select Never Block Sender.
-
How to remove from the Safe Senders
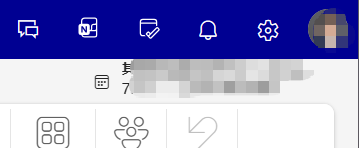
- Click the Settings⚙icon in the top-right corner.
- In the left menu, select Mail > Junk email. In the Safe senders and domains list, select the email address you want to remove, click the Remove🗑️icon, and then click Save to finish.
- Click the Settings⚙icon in the top-right corner.
-
How to add to the Blocked Senders
- In any mail folder, go to the Block option in the right-click menu of the message, then select Block Sender.
- In the pop-up window asking "Block xxx?", click OK. This message will be deleted, and the sender will be added to the Blocked Senders list.
- In any mail folder, go to the Block option in the right-click menu of the message, then select Block Sender.
-
How to remove from the Blocked Senders
- Click the Settings⚙icon in the top-right corner.
- In the left menu, select Mail > Junk email. In the Blocked senders and domains list, select the email address you want to remove, click the Remove🗑️icon, and then click Save to finish.
- Click the Settings⚙icon in the top-right corner.
How to Set Up Junk Email Options - In Outlook for Mobile
-
How to release Junk Email
- iOS
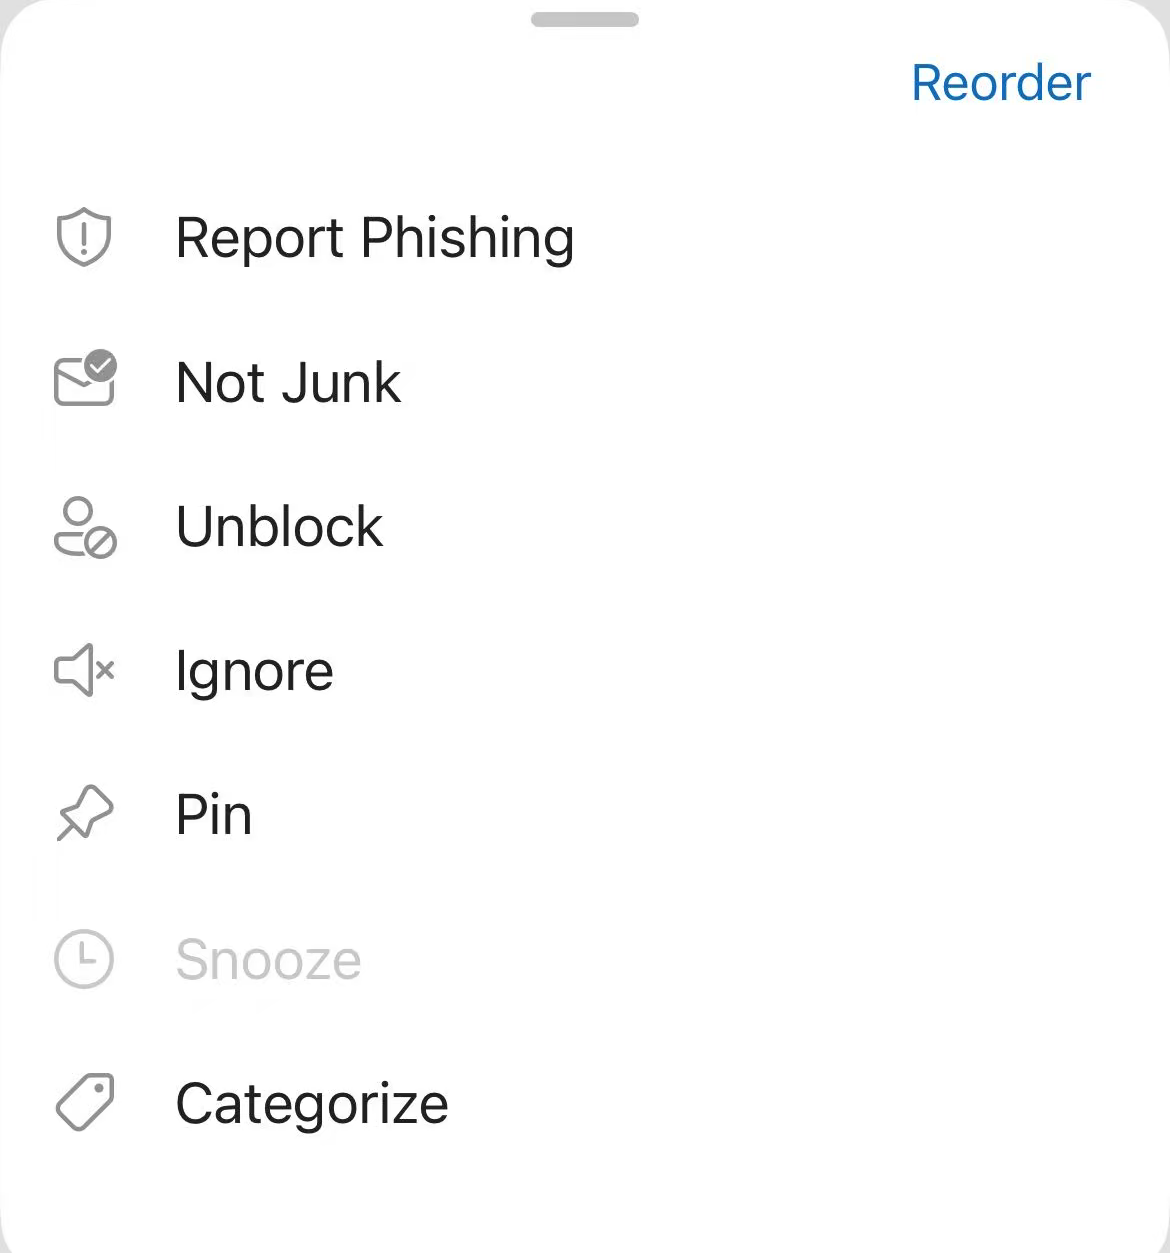
- In the Junk Email folder, long-press the message to select it, then tap the three-dots menu button at the bottom.
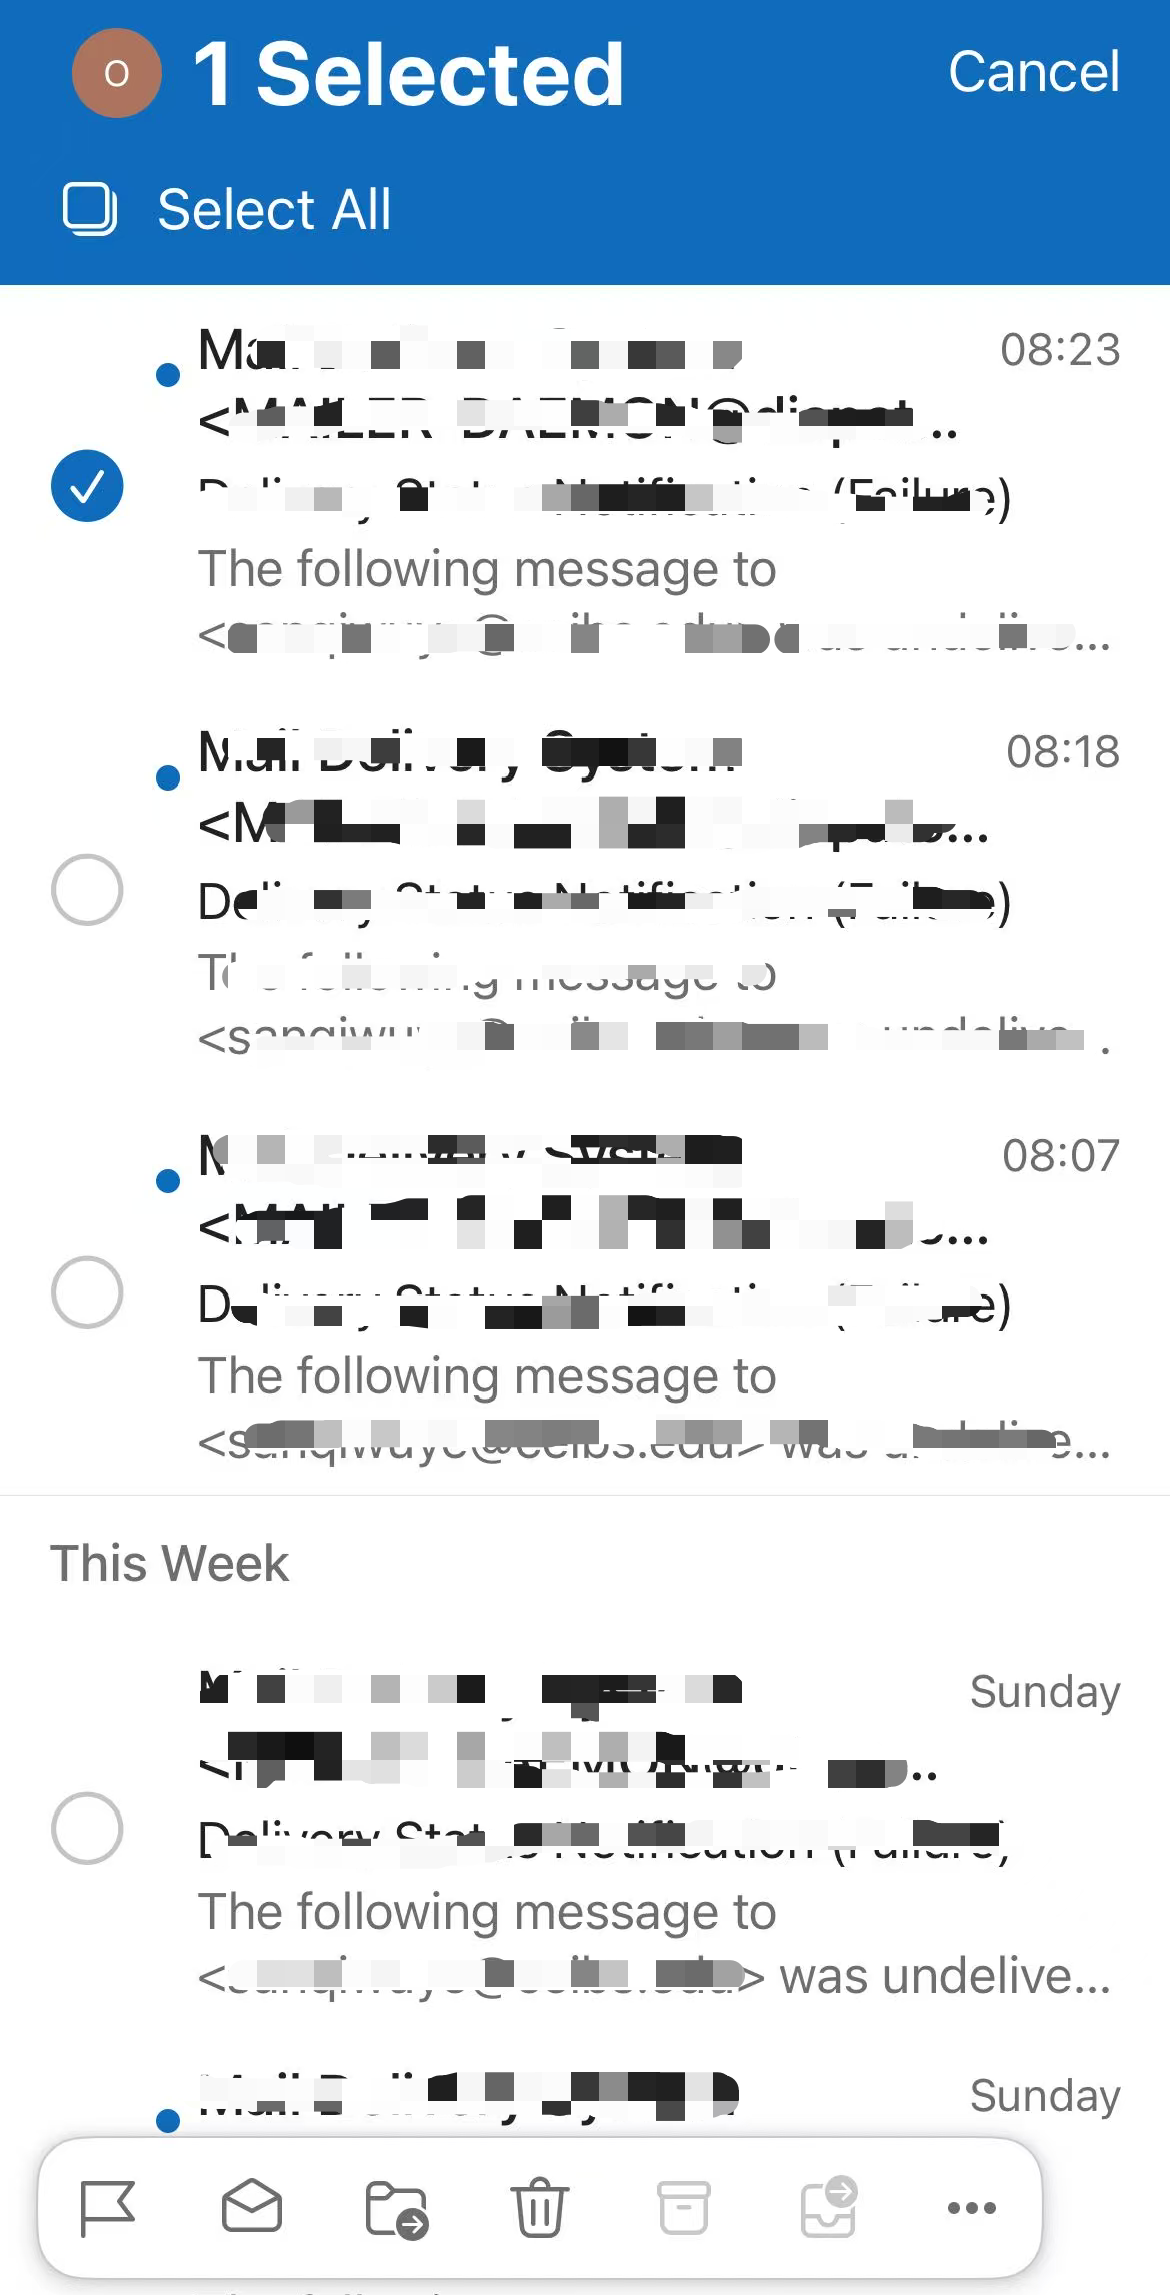
- Select Not Junk in the menu.
- In the pop-up window, tap Not Junk. The message will be moved back to the Inbox folder.
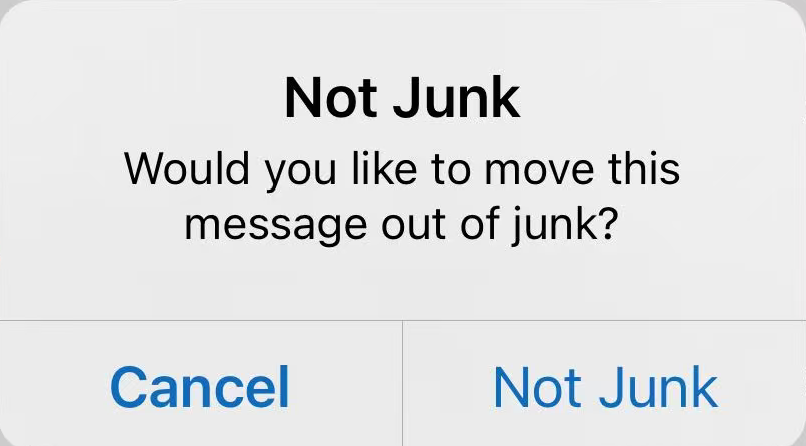
- In the Junk Email folder, long-press the message to select it, then tap the three-dots menu button at the bottom.
- Android
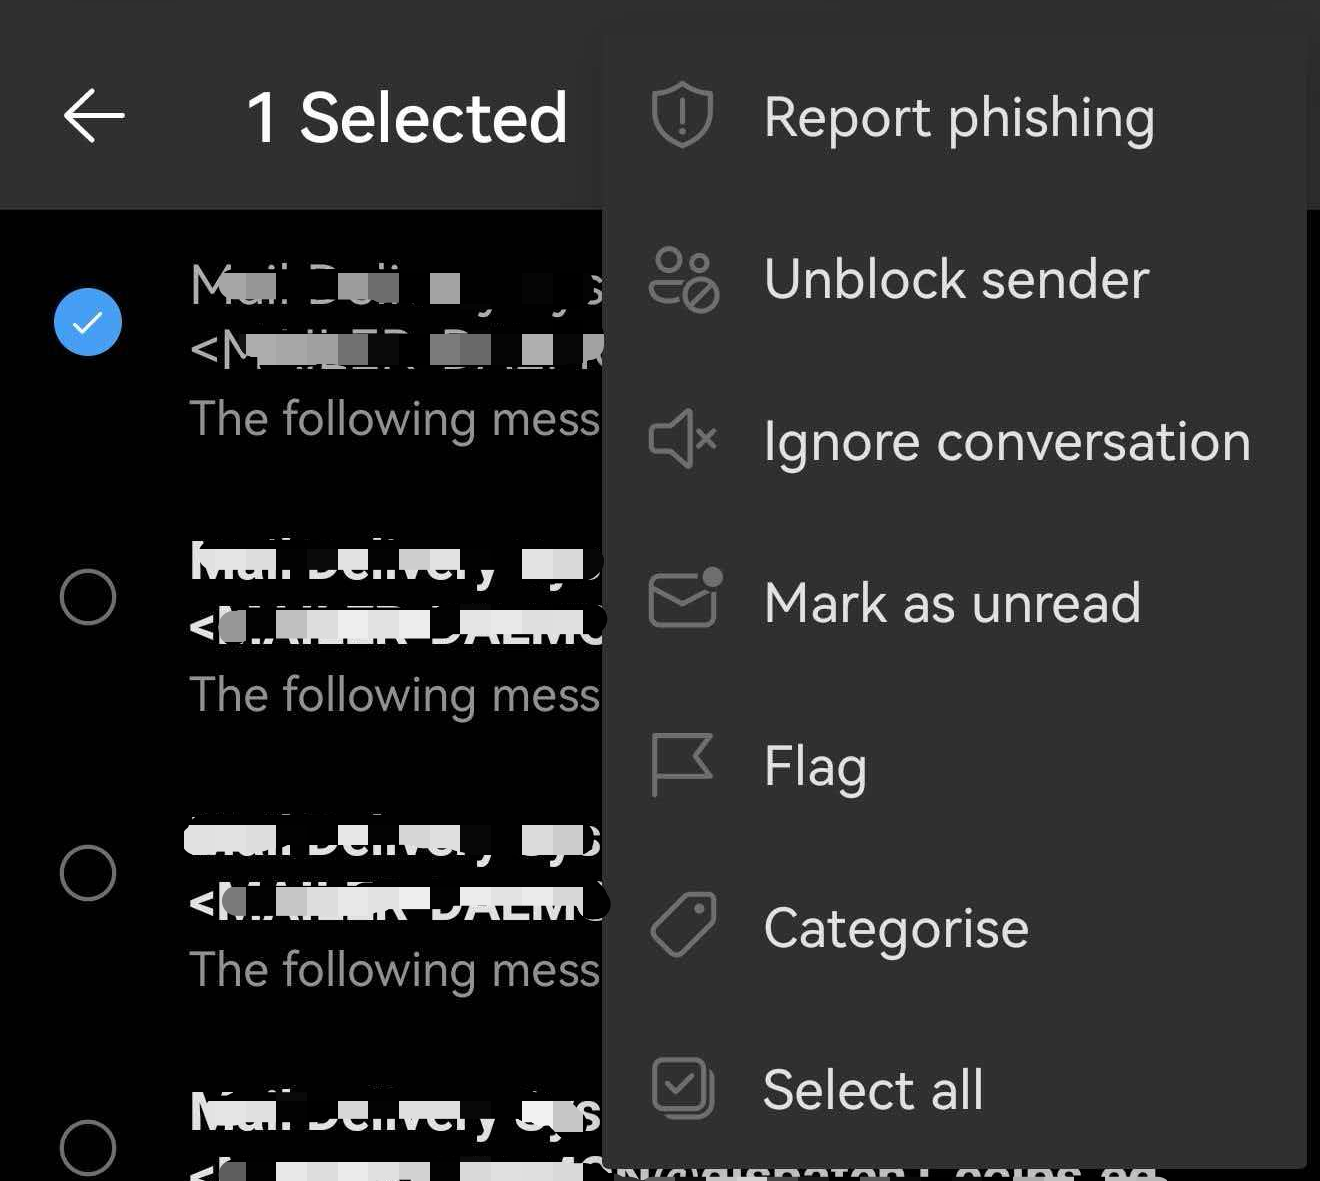
- In the Junk Email folder, select and long-press the message, then tap the three-dots menu button at the top.
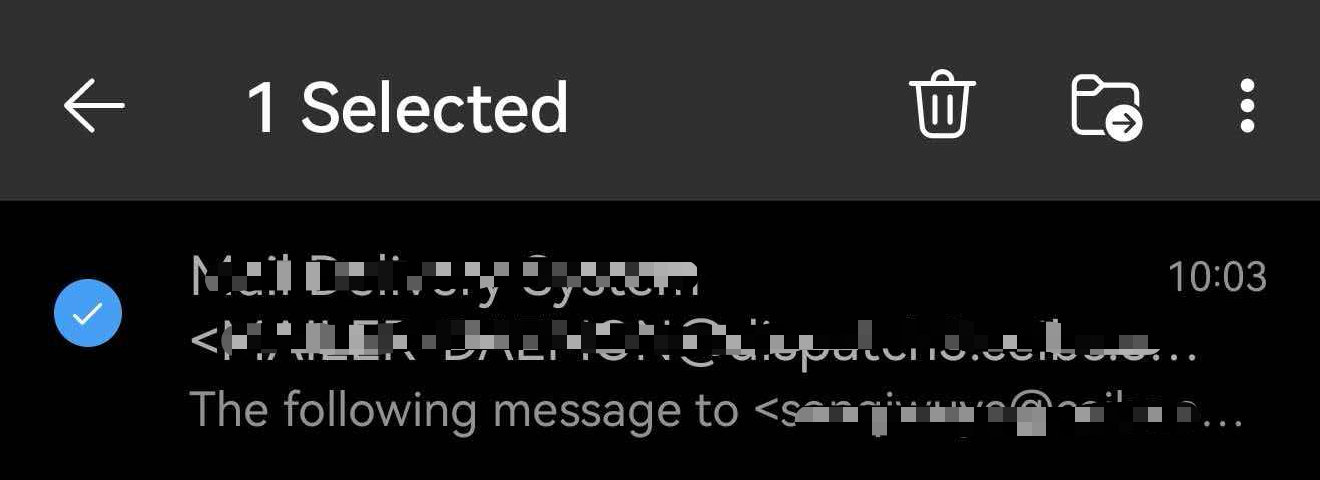
- Select Not Junk in the menu. The message will be moved back to the Inbox folder.
- In the Junk Email folder, select and long-press the message, then tap the three-dots menu button at the top.
- iOS
-
How to add or remove from the Safe Senders
- Currently, the Outlook for mobile does not support directly viewing or managing the Safe Senders. To use these functions, set them up via the classic Outlook for Windows or Outlook on the web.
- Currently, the Outlook for mobile does not support directly viewing or managing the Safe Senders. To use these functions, set them up via the classic Outlook for Windows or Outlook on the web.
-
How to add to the Blocked Senders (Only available on this device)
- iOS
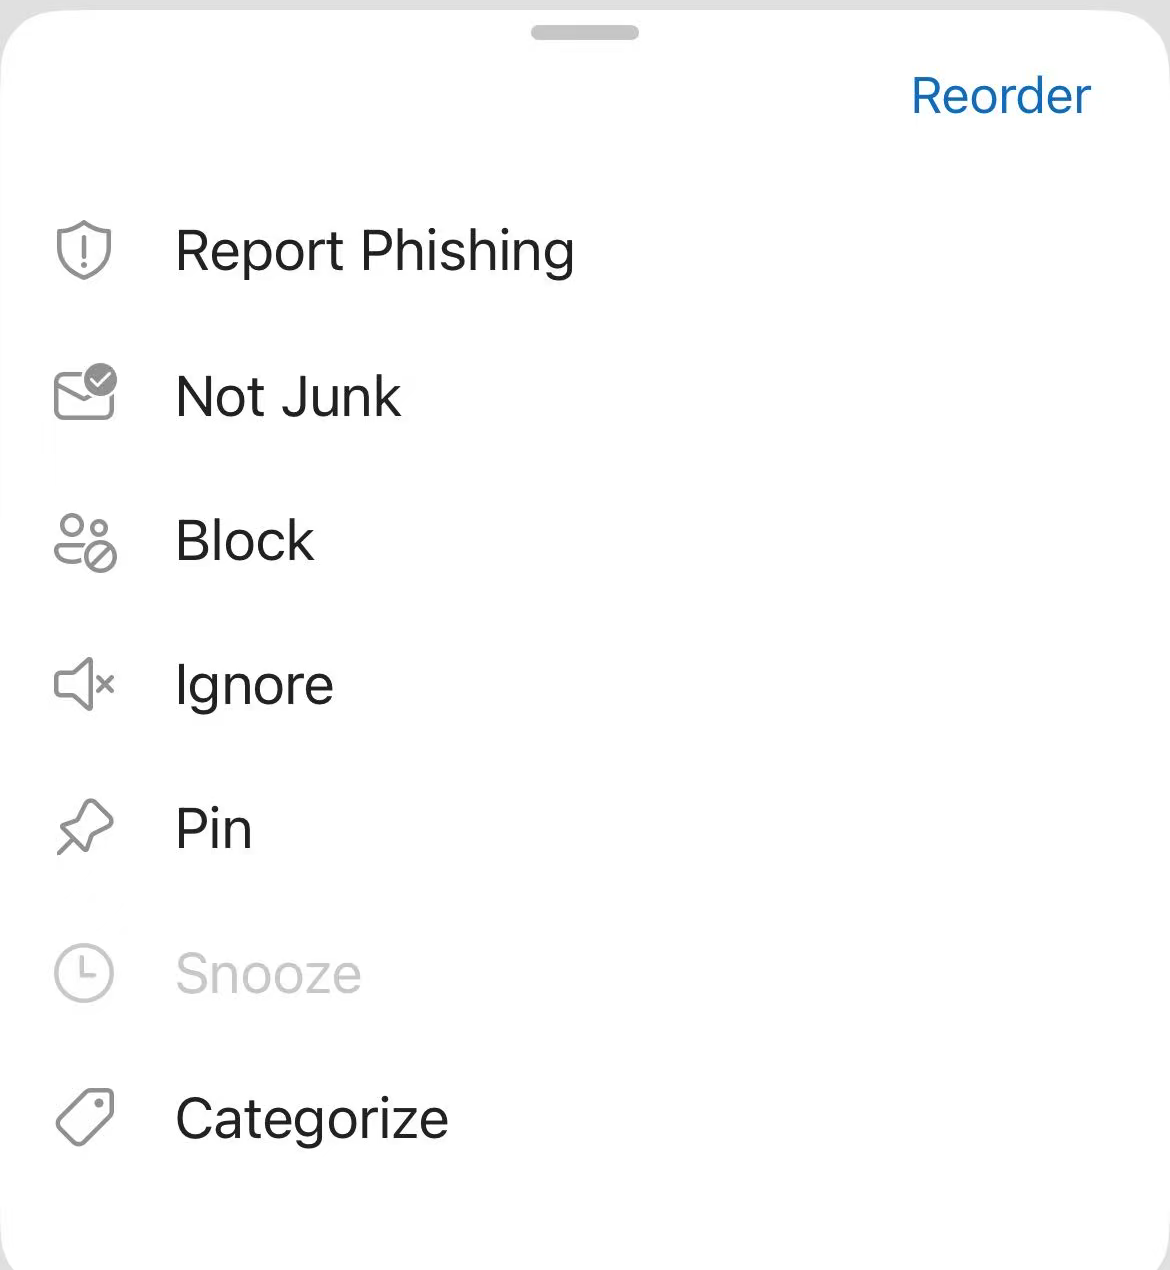
- In any Email folder, select and long-press the message, then tap the three-dots menu button at the bottom.
- (If you haven’t blocked this sender on this device before, the Block option will appear here.) Select Block in the menu.
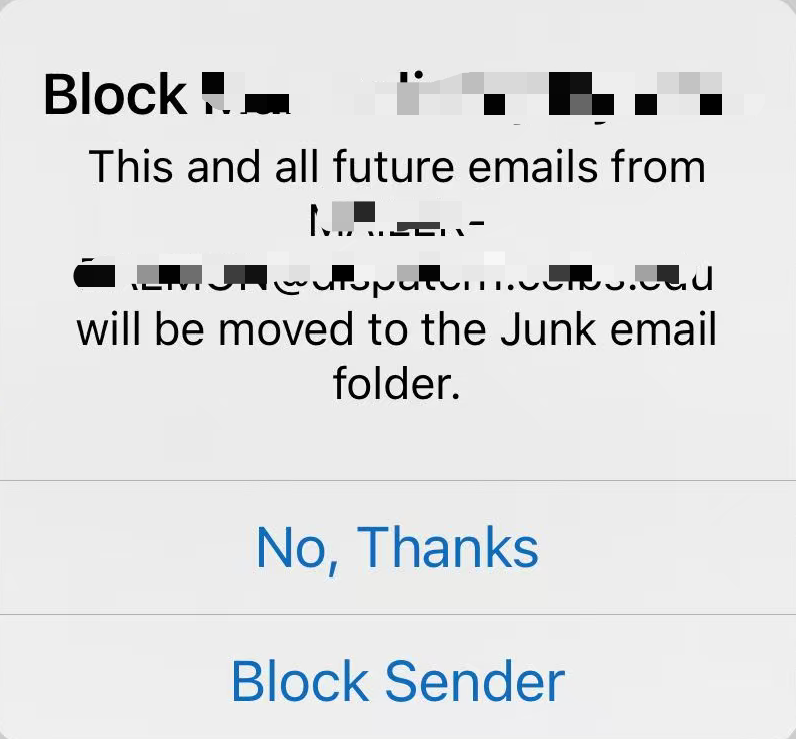
- In the pop-up window, tap Block Sender. The message will be moved to the Junk Email folder.
- In any Email folder, select and long-press the message, then tap the three-dots menu button at the bottom.
- Android
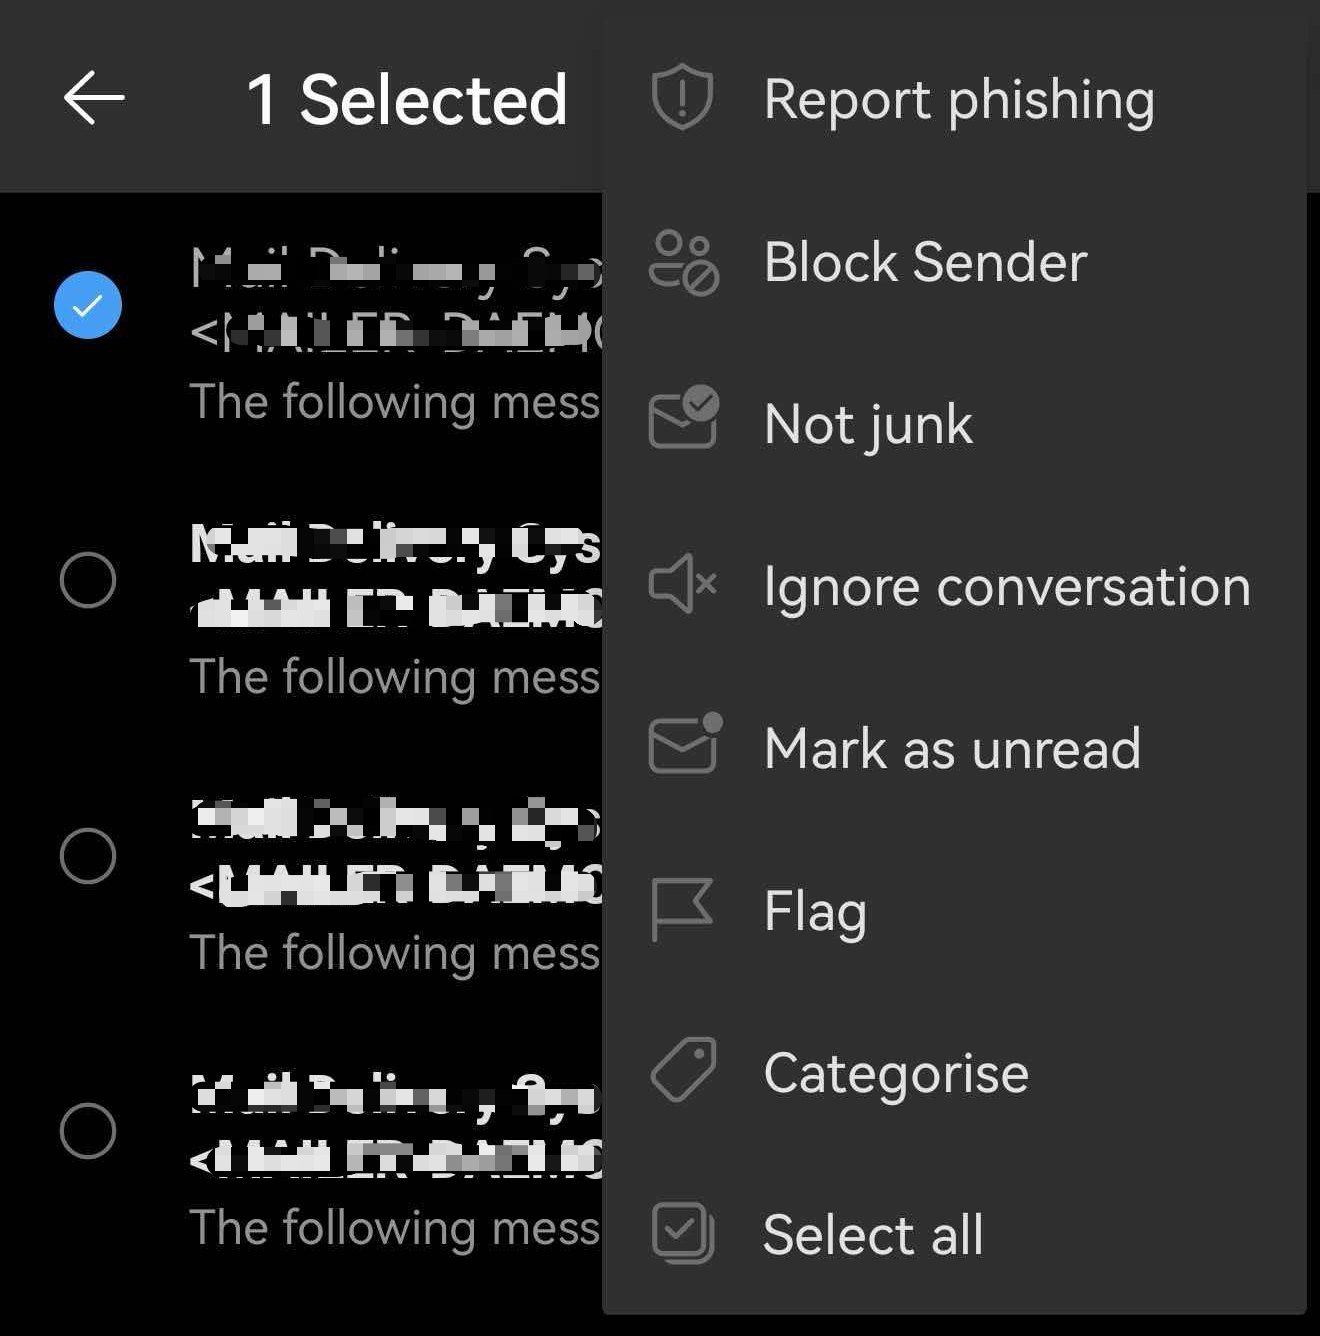
- In any Email folder, select and long-press the message, then tap the three-dots menu button at the top.
- (If you haven’t blocked this sender on this device before, the Block Sender option will appear here.) Select Block Sender in the menu.
- In the pop-up window, tap Block Sender. The message will be moved to the Junk Email folder.

Note: If the block sender function does not take effect, set it up via the classic Outlook for Windows or Outlook on the web.
- In any Email folder, select and long-press the message, then tap the three-dots menu button at the top.
- iOS
-
How to remove from the Blocked Senders (Only available on this device)
- iOS
- In any Email folder, select and long-press the message, then tap the three-dots menu button at the bottom.
- (If you have blocked this sender on this device before, the Unblock option will appear here.) Select Unblock in the menu. The message will be moved back to the Inbox folder.
- In any Email folder, select and long-press the message, then tap the three-dots menu button at the bottom.
- Android
- In the Junk Email folder, select and long-press the message, then tap the three-dots menu button at the top.
- (If you have blocked this sender on this device before, the Unblock sender option will appear here.) Select Unblock sender in the menu. The message will be moved back to the Inbox folder.
Note: If the unblock sender function does not take effect, set it up via the classic Outlook for Windows or Outlook on the web.
- In the Junk Email folder, select and long-press the message, then tap the three-dots menu button at the top.
- iOS
Setup complete.
Additional Information About Junk Email
-
Understand Spam Classification from the Email Subjects
- The following labels are added at the beginning of email subjects when the criteria for threat email detection are met:
Subject Label Label Description [SPAM] SPAM [SUSPECTED SPAM] SUSPECTED SPAM [WARNING: VIRUS REMOVED] VIRUS REMOVED [WARNING: MESSAGE ENCRYPTED] MESSAGE ENCRYPTED [WARNING: A/V UNSCANNABLE] UNABLE TO SCAN FOR VIRUSES [WARNING: ATTACHMENT UNSCANNED] ATTACHMENT UNSCANNED [WARNING: ATTACHMENT(S) MAY CONTAIN MALWARE] ATTACHMENT(S) MAY CONTAIN MALWARE [MARKETING] MARKETING [SOCIAL NETWORK] SOCIAL NETWORK [BULK] BULK [SUSPICIOUS MESSAGE] SUSPICIOUS MESSAGE
- The following labels are added at the beginning of email subjects when the criteria for threat email detection are met:
-
Understand Spam Classification from the Email body
- The following prompt messages are added at the beginning of the email body when a threat email is detected.
Body Prompt Threat Type This email is suspected to be a scam. Please handle with caution. If you have any questions, contact IT promptly. If this is a false positive, please ignore this notice. Thank you.
此邮件疑似诈骗邮件,请谨慎处理,如有疑问,请联系IT, 如属误判,请忽略此提示,谢谢!
CEIBS IT Support TeamSUSPECTED TO BE A SCAM This email is suspected to be a phishing email. Please handle with caution. If you have any questions, contact IT promptly. If this is a false positive, please ignore this notice. Thank you!
此邮件疑似钓鱼邮件,请谨慎处理,如有疑问,请联系IT,如属误判,请忽略此提示,谢谢!
CEIBS IT Support TeamSUSPECTED TO BE A PHISHING EMAIL This email is suspected to be sent from a forged email address. Please exercise extra caution when handling it. If this is a false positive, please ignore this notice. Thanks!
此邮件疑似通过伪造的发件人发送,请谨慎处理,如属误判,请忽略此提示,谢谢。
CEIBS IT Support TeamSUSPECTED TO BE SENT FROM A FORGED EMAIL ADDRESS
- The following prompt messages are added at the beginning of the email body when a threat email is detected.
Reminder: Emails in the Junk Email folder are only retained for 30 days. Emails older than 30 days will be automatically deleted.
End of guide.