
This guide is to help faculty, staff, and students install Microsoft 365 Apps.
Before you begin, make sure your PC or Mac meets the system requirements. Ensure you have already been assigned a license of at least Microsoft 365 A3 through CEIBS.
Windows | macOS
Download and Install on Windows
-
Sign in to download Microsoft 365 Apps on Windows
- Go to https://m365.cloud.microsoft/apps and if you're not already signed in, select Sign in.
- Sign in with your CEIBS account.
- After signing in, follow the steps.
- From the home page select Install apps. (Or, you might need to select Apps from the left navigation pane, and then select Install apps.)
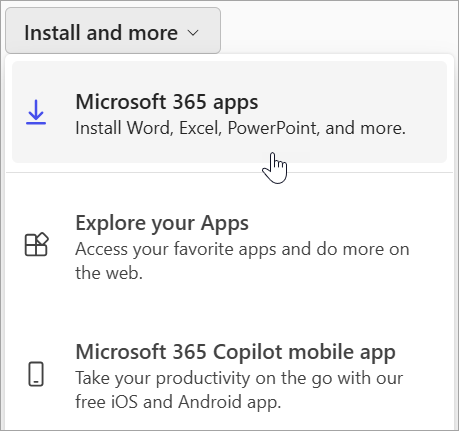
- Select Microsoft 365 apps to begin the installation.
- From the home page select Install apps. (Or, you might need to select Apps from the left navigation pane, and then select Install apps.)
- This completes the download of Microsoft 365 to your device. To complete the installation and activation steps, follow the prompts in the following install and activation sections.
-
Install Microsoft 365 Apps on Windows
- Depending on your browser, select Run (in Microsoft Edge or Internet Explorer), Setup (in Chrome), or Save File (in Firefox).
If you see the User Account Control prompt that says, Do you want to allow this app to make changes to your device? select Yes. - The install begins.
- Your install is finished when you see the phrase, "You're all set! Office is installed now" and an animation plays to show you where to find Microsoft 365 applications on your computer. Select Close.
- Depending on your browser, select Run (in Microsoft Edge or Internet Explorer), Setup (in Chrome), or Save File (in Firefox).
-
Activate Microsoft 365 Apps on Windows
- To open an app, select the Start button (lower-left corner of your screen) and type the name of an app, like Word.
- To open the app, select its icon in the search results.
- When the app opens, accept the license agreement. Microsoft 365 is activated and ready to use.
Download and Install on a macOS
-
Sign in to download Microsoft 365 Apps on macOS
- Go to https://m365.cloud.microsoft/apps and if you're not already signed in, select Sign in.
- Sign in with your CEIBS account.
- After signing in, follow the steps.
- From the home page select Install apps. (Or, you might need to select Apps from the left navigation pane, and then select Install apps.)
- Select Microsoft 365 apps to begin the installation.
- From the home page select Install apps. (Or, you might need to select Apps from the left navigation pane, and then select Install apps.)
- Follow the instructions below to complete installing your Microsoft 365 apps.
-
Install Microsoft 365 Apps on macOS
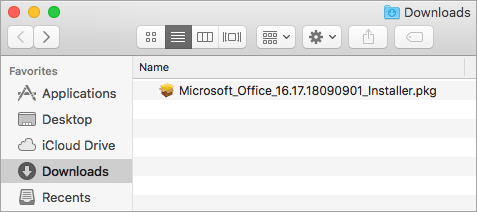
- Once the download has completed, open Finder, go to Downloads, and double-click Microsoft Office installer.pkg file (the name might vary slightly).
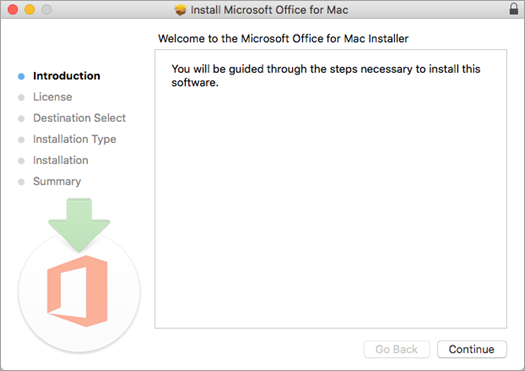
Tip: If you see an error that says the Microsoft Office installer.pkg can't be opened because it is from an unidentified developer, wait 10 seconds and move the downloaded file to your desktop. Hold Control + click the file to launch the installer. - On the first installation screen, select Continue to begin the installation process.
- Review the software license agreement, and then click Continue.
- Select Agree to agree to the terms of the software license agreement.
- Choose how you want to install Microsoft 365 Apps and click Continue.
- Review the disk space requirements or change your install location, and then click Install.
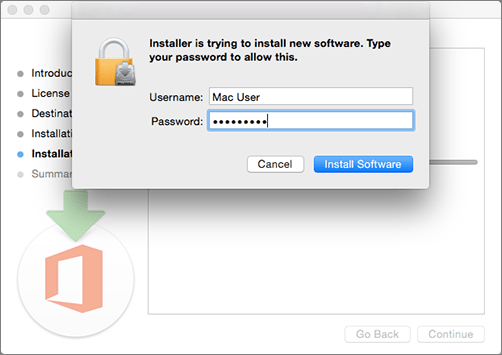
- Enter your Mac login password, if prompted, and then click Install Software. (This is the password that you use to log in to your Mac.)
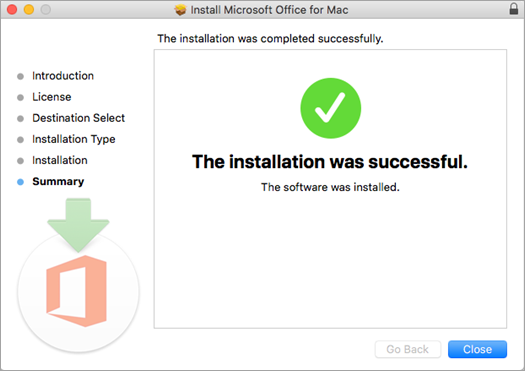
- The software begins to install. Click Close when the installation is finished.
- Once the download has completed, open Finder, go to Downloads, and double-click Microsoft Office installer.pkg file (the name might vary slightly).
-
Activate Microsoft 365 Apps on macOS
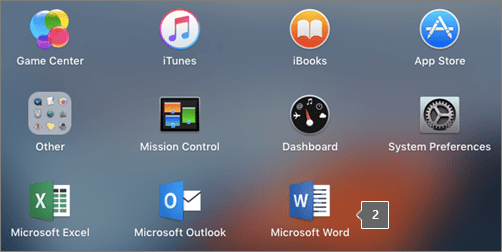
- Click the Launchpad icon in the Dock to display all of your apps.

- Click the Microsoft Word icon (or another Microsoft 365 icon) in the Launchpad.
- The What's New window opens automatically when you launch Word. Click Get Started to start activating. If you need help activating Microsoft 365, see Activate Microsoft 365 for Mac.

- Click the Launchpad icon in the Dock to display all of your apps.