
CEIBS provides email services for alumni. You can set it up on Outlook for desktop devices.
Important Notes:
The desktop version of Outlook that supports CEIBS Alumni email accounts is Outlook for Mac.
Please make sure the following Office versions are installed and working properly on your Mac: Office 2019 for Mac|Microsoft 365 Apps for enterprise.
It is recommended to use Legacy mode.
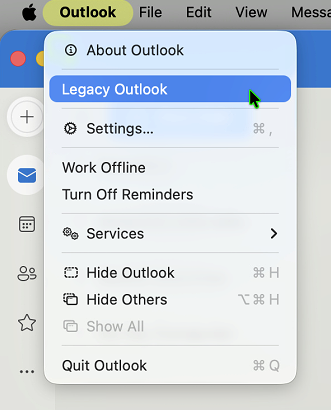
- Click on the Outlook menu in the top-left corner of the screen. Select the option Legacy Outlook from the dropdown menu.
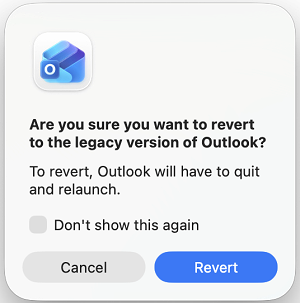
- If prompted, confirm your choice to switch to Legacy Outlook.
Set up CEIBS Alumni Email
- Open Outlook for Mac.
- Add a new account in Outlook for Mac. (Please go to Step 2, enter your CEIBS Alumni email address)
- Add more accounts in Outlook for Mac.
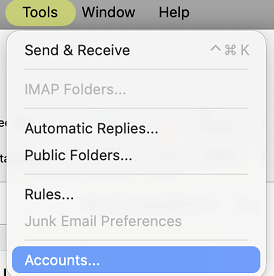
- Select Tools > Accounts.
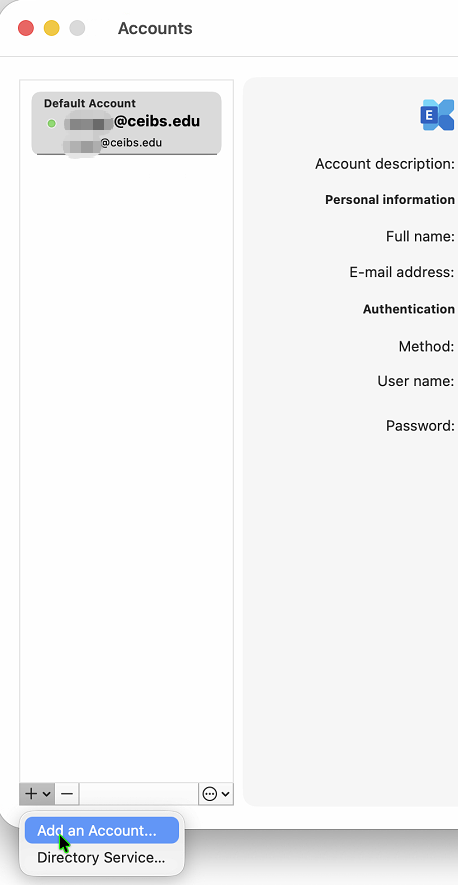
- Select the ➕ > Add Account option at the bottom of the accounts list window.
- Select Tools > Accounts.
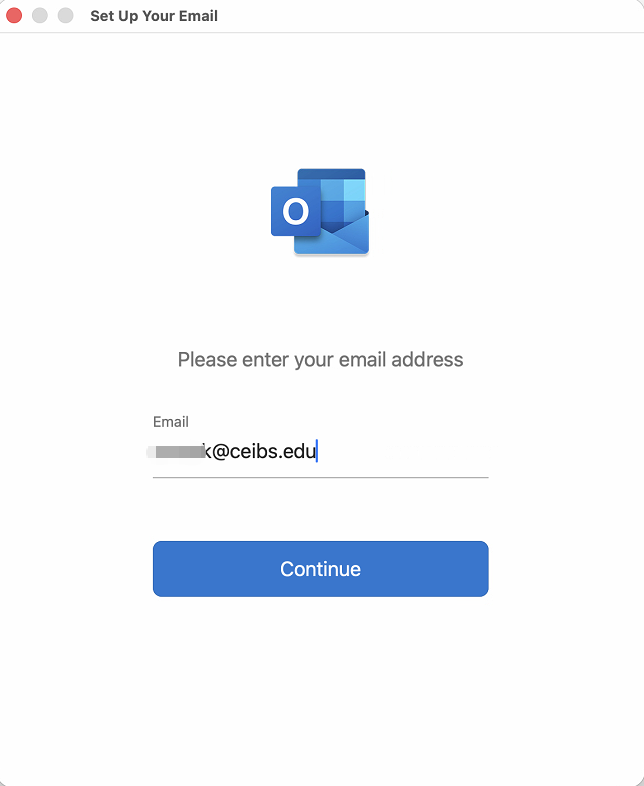
- Enter your CEIBS Alumni email address and select Continue.
- After waiting a moment, click Choose the Provider when it appears.
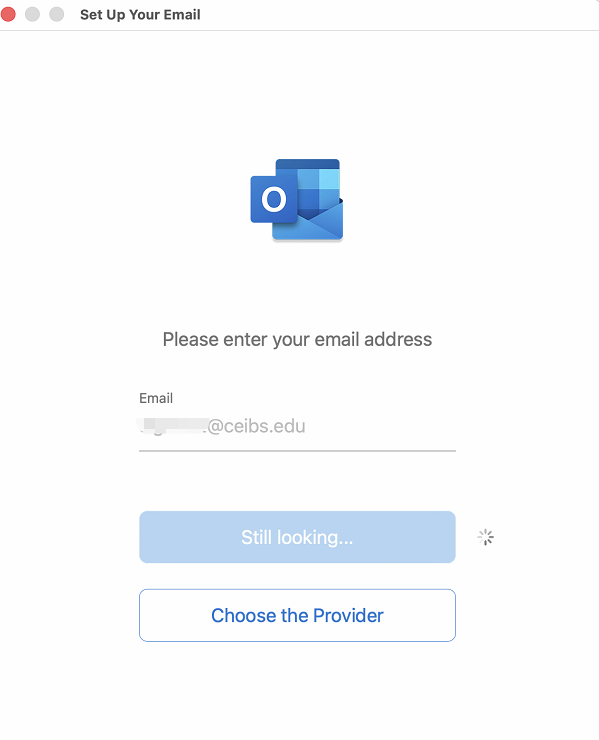
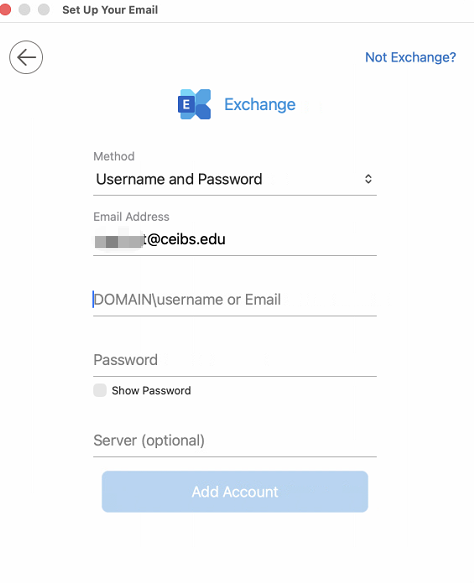
- If you do not click Choose Provider in time, you will be redirected to the Exchange setup page. Please click Not Exchange? in the top-right corner.
- After waiting a moment, click Choose the Provider when it appears.
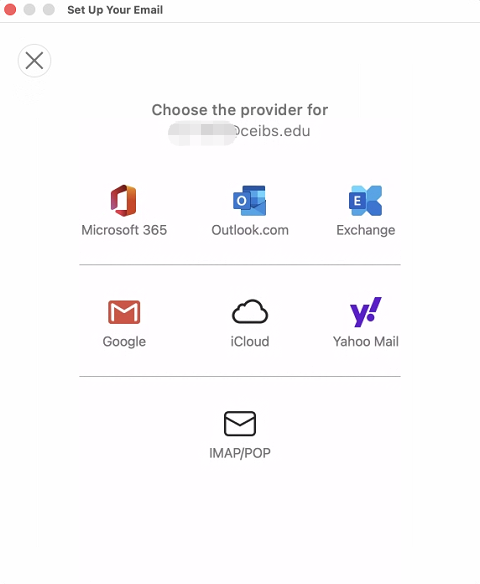
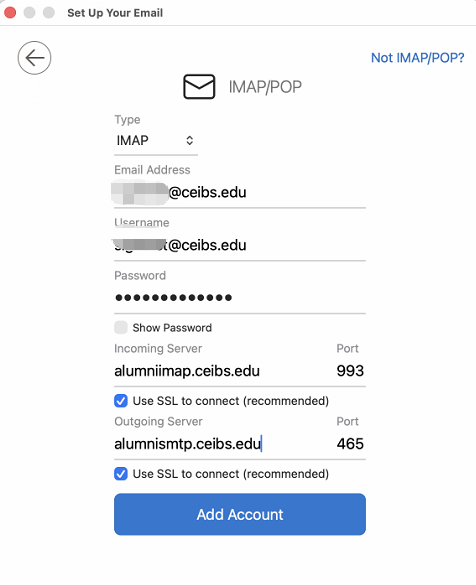
- Select IMAP/POP。
- Check and enter the account and server information:
- Verify and confirm the Type is IMAP;
- Verify and confirm that both the Email address and Username are your CEIBS email address;
- Enter your password;
- Enter the Incoming server:
alumniimap.ceibs.edu; - Verify and confirm the Port:
993; - Check Use SSL connection;
- Enter the outgoing server:
alumnismtp.ceibs.edu; - Verify and confirm the Port:
465; - Check Use SSL connection;
- Select Add Account.
- Select Done.
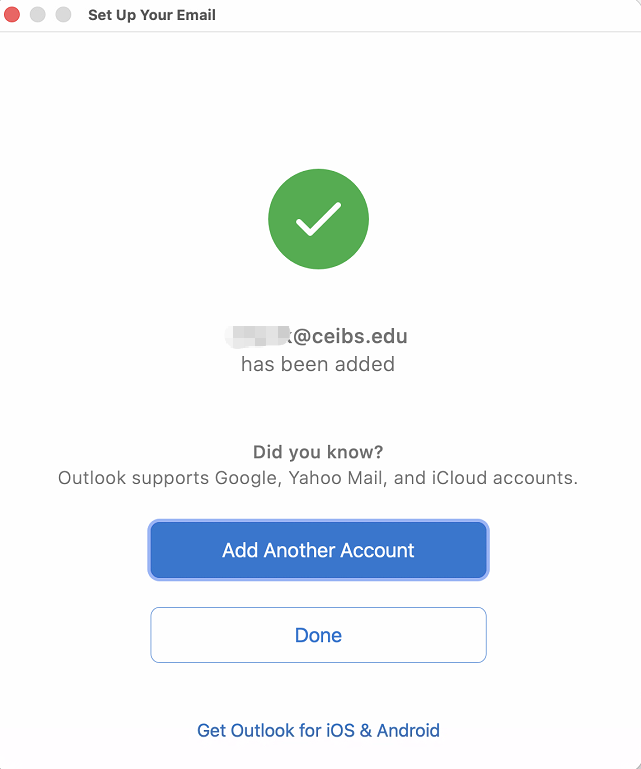
-
Setup complete.