
CEIBS provides email services for Alumni, which you can set up in Mail on your mobile devices.
iOS | Android
iOS
- On your iOS device, tap Settings, scroll down to find Apps, and tap it.
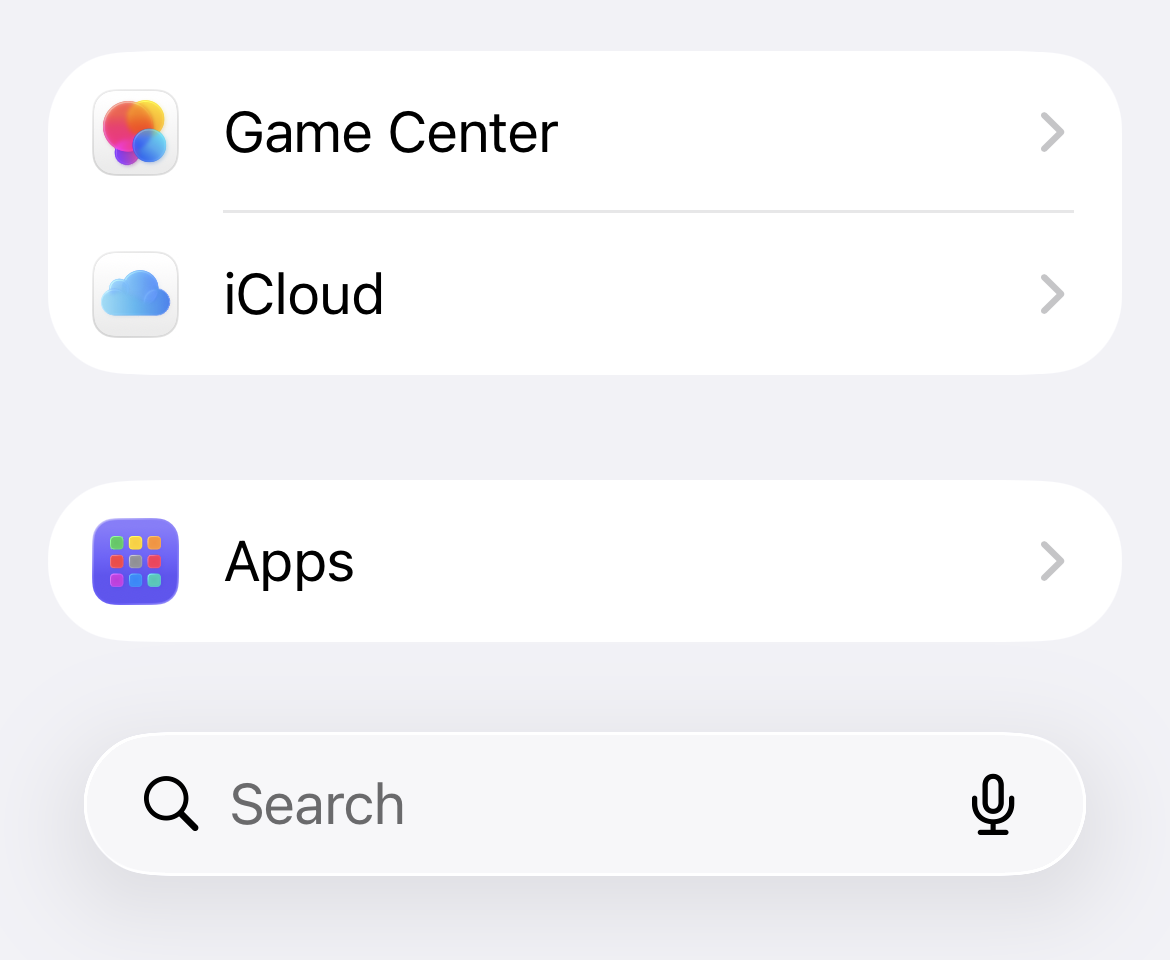
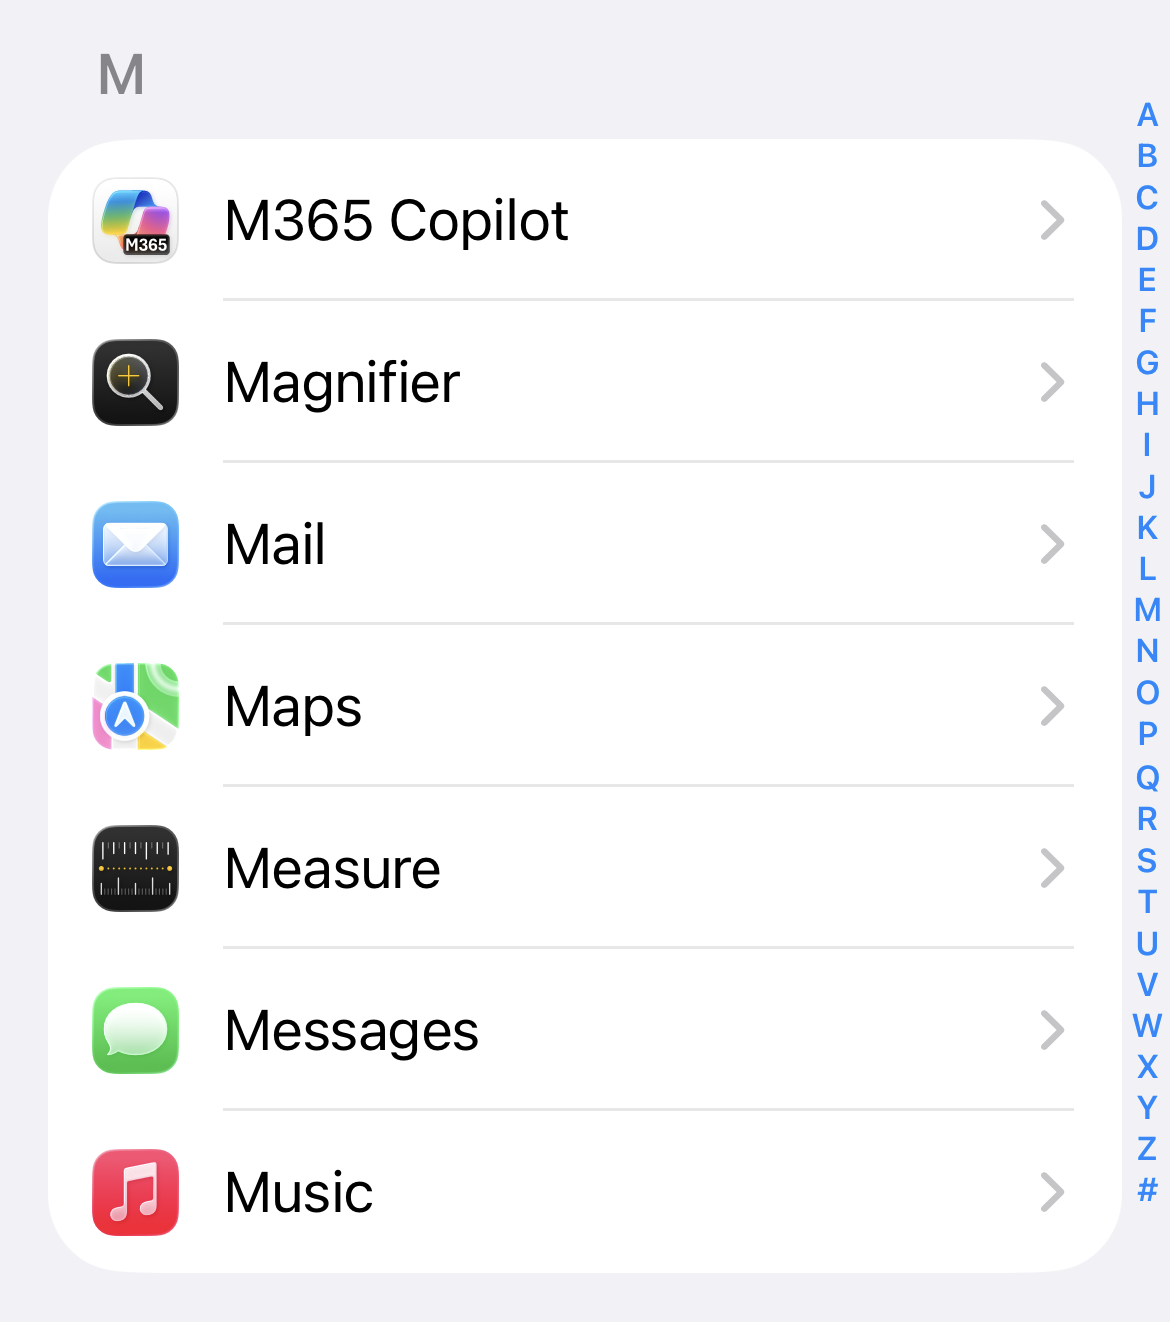
- Scroll down to find Mail and tap it.
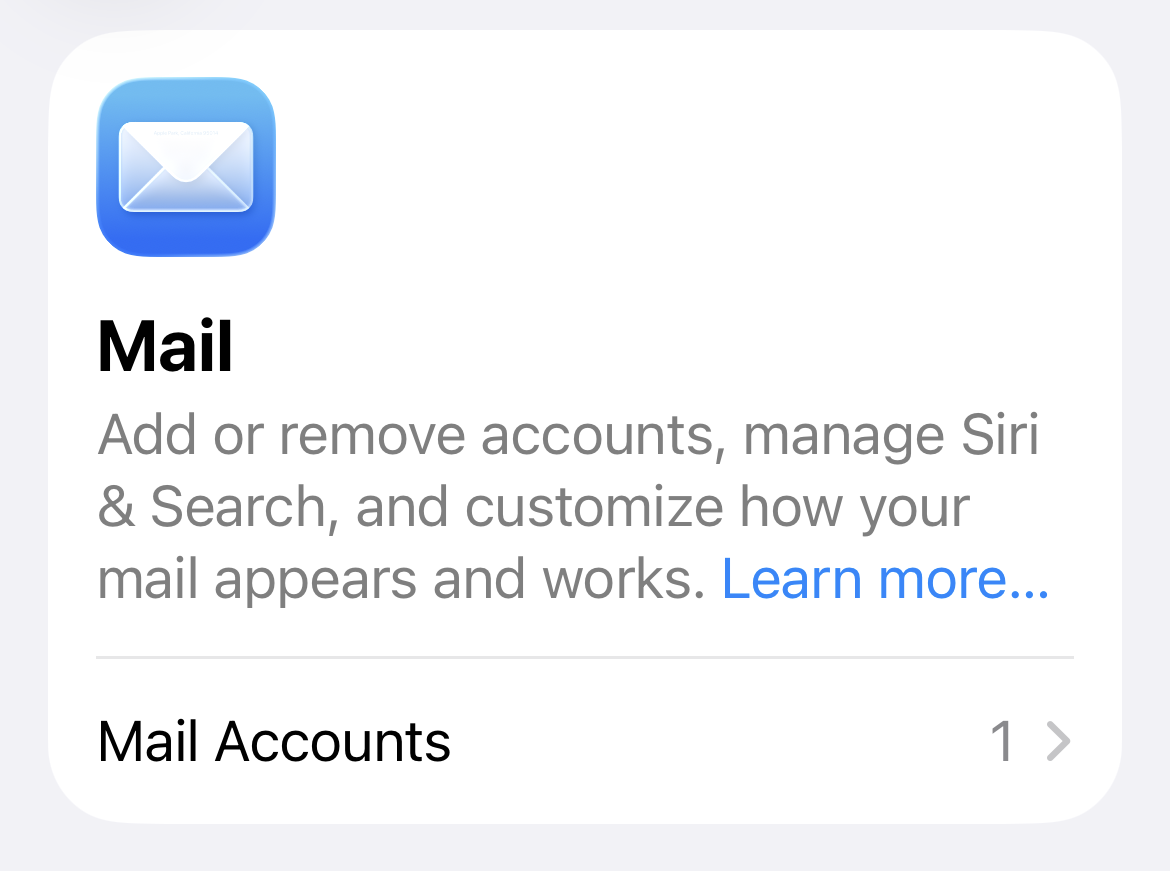
- Tap Mail Accounts.
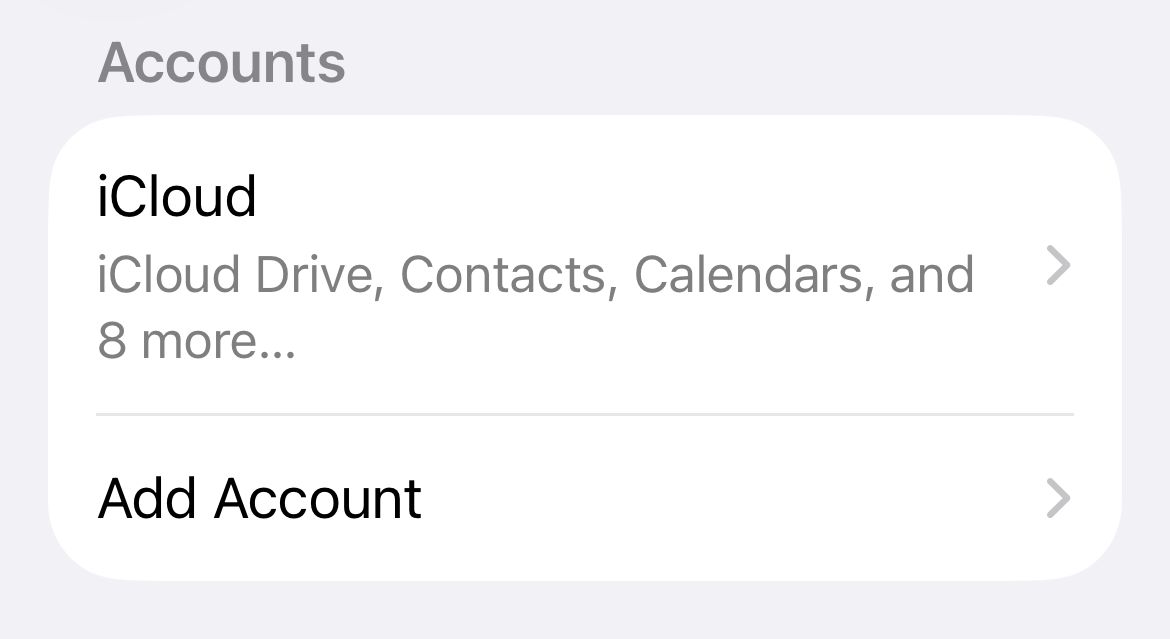
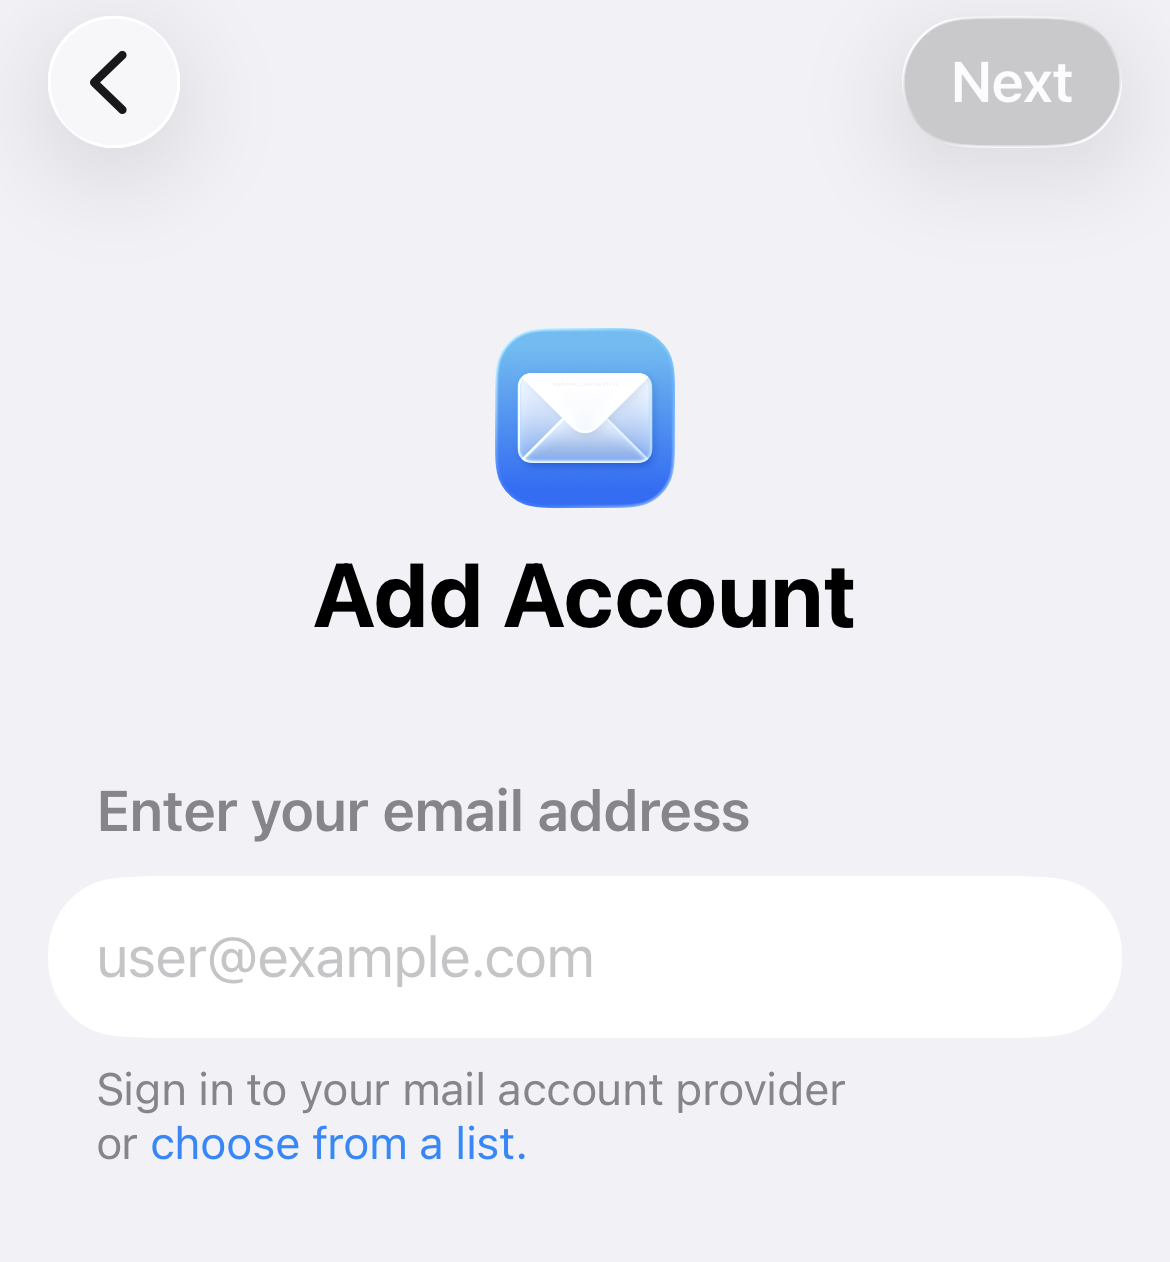
- Tap Add Account.
- Enter your CEIBS alumni email address in the field below, then tap Next.
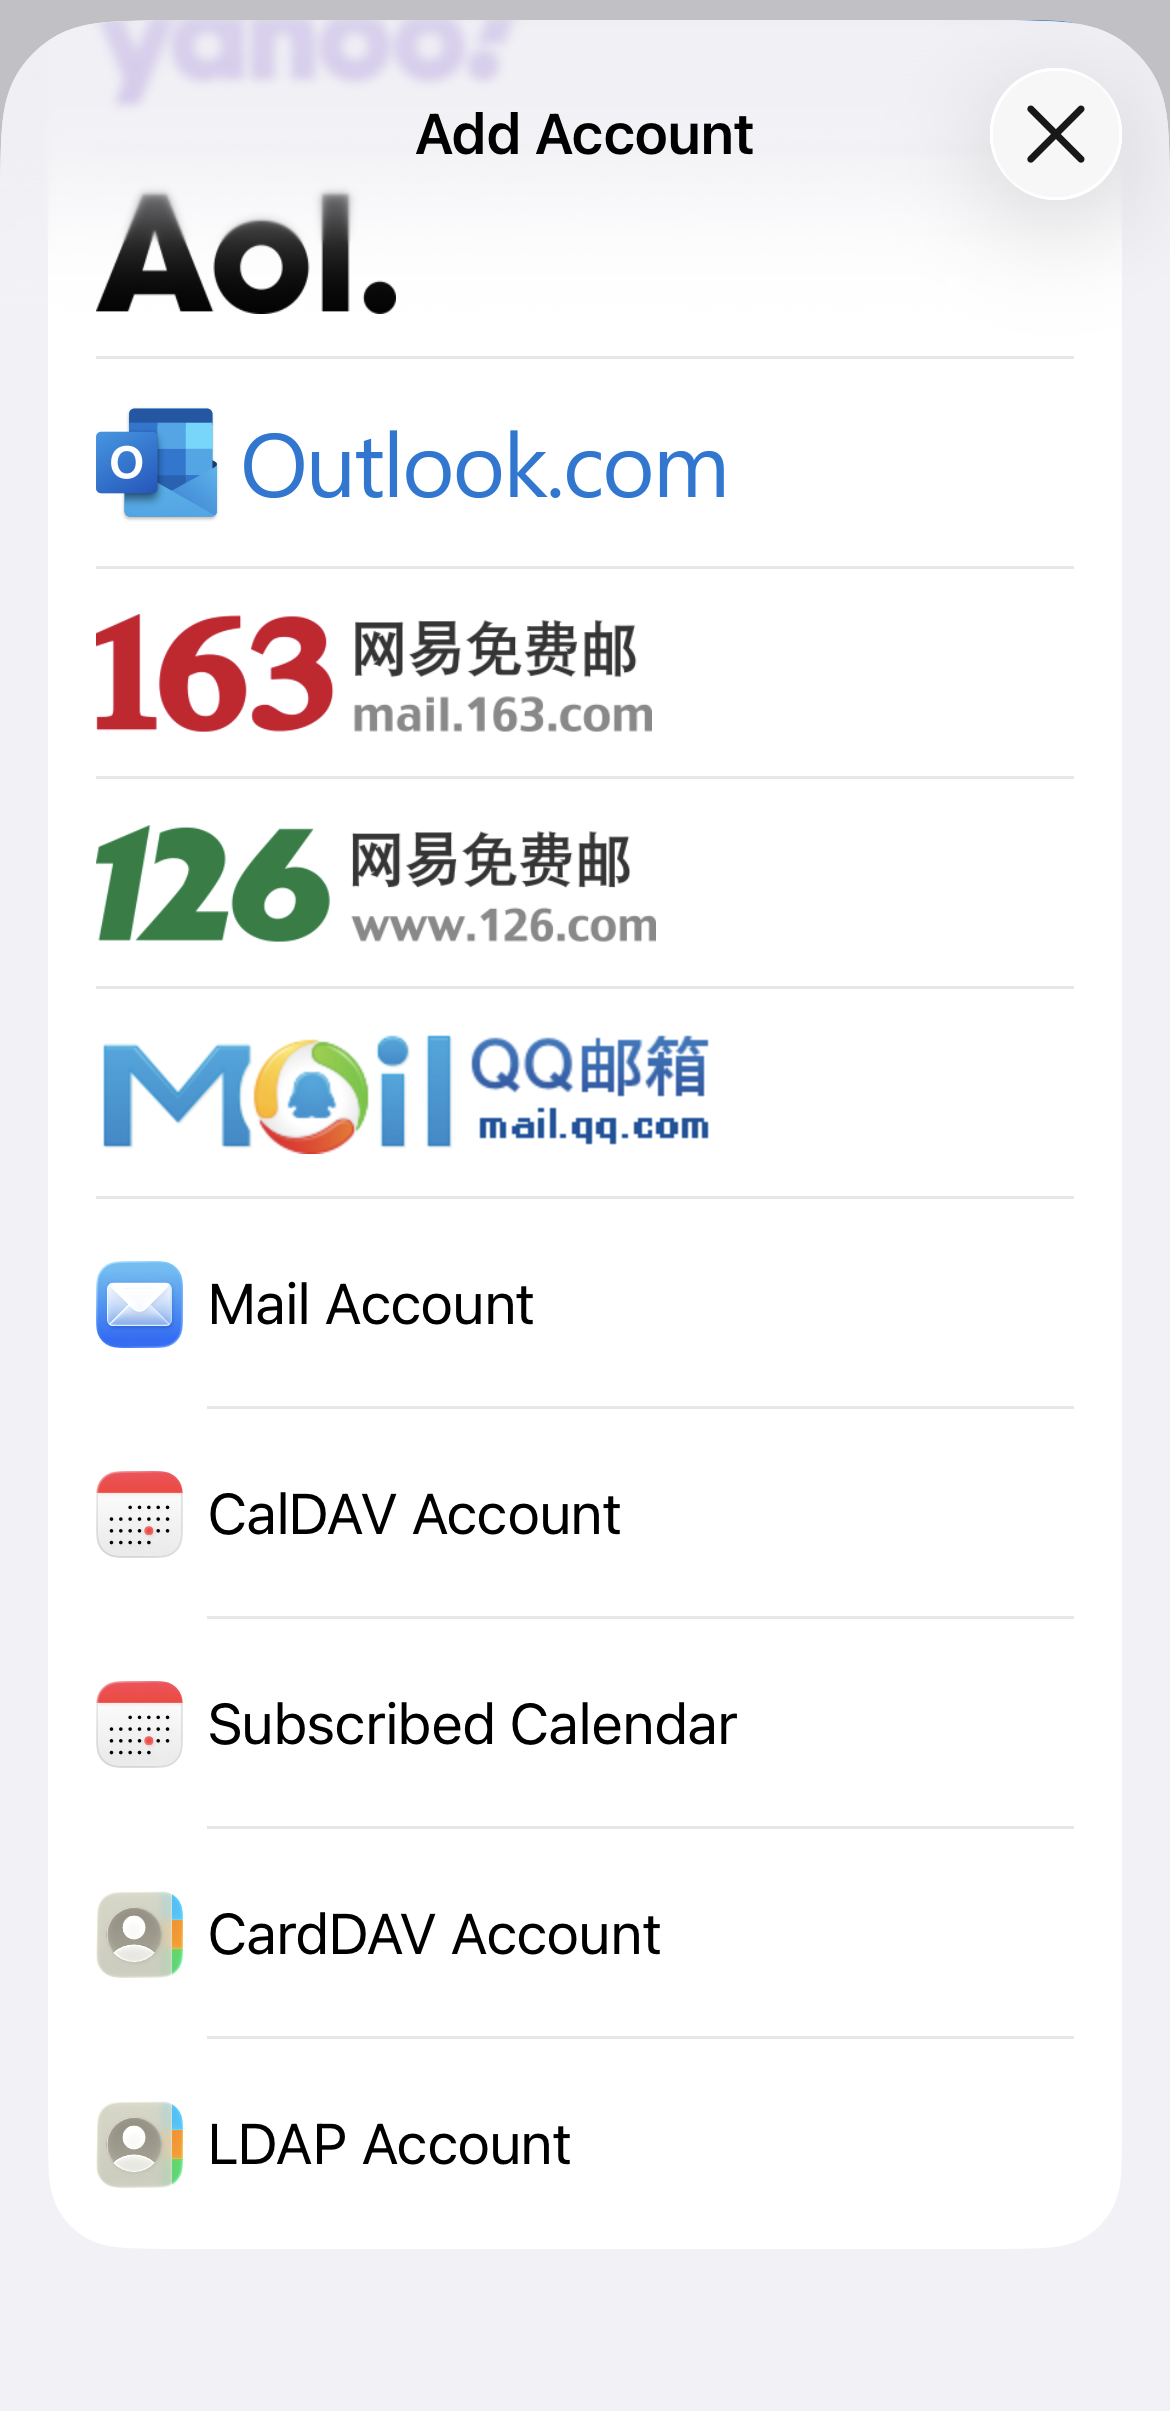
- In the pop-up window, scroll down and select Mail Account.
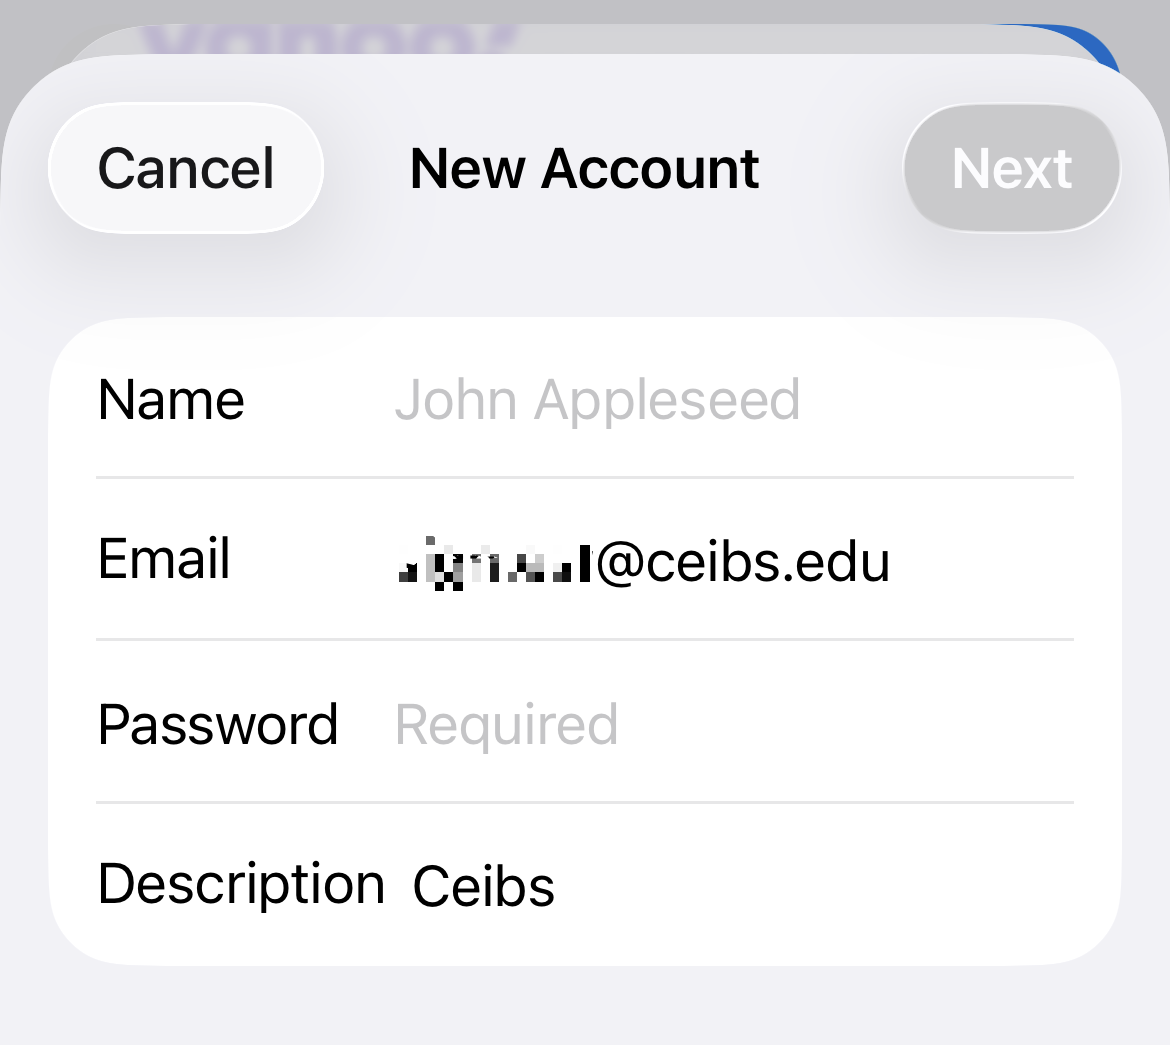
- Enter the display name of your CEIBS alumni email address in the Name field, enter the password for your CEIBS alumni email address in the 'Password' field, enter a description to help you identify which email account this is (e.g. CEIBS), and tap Next.
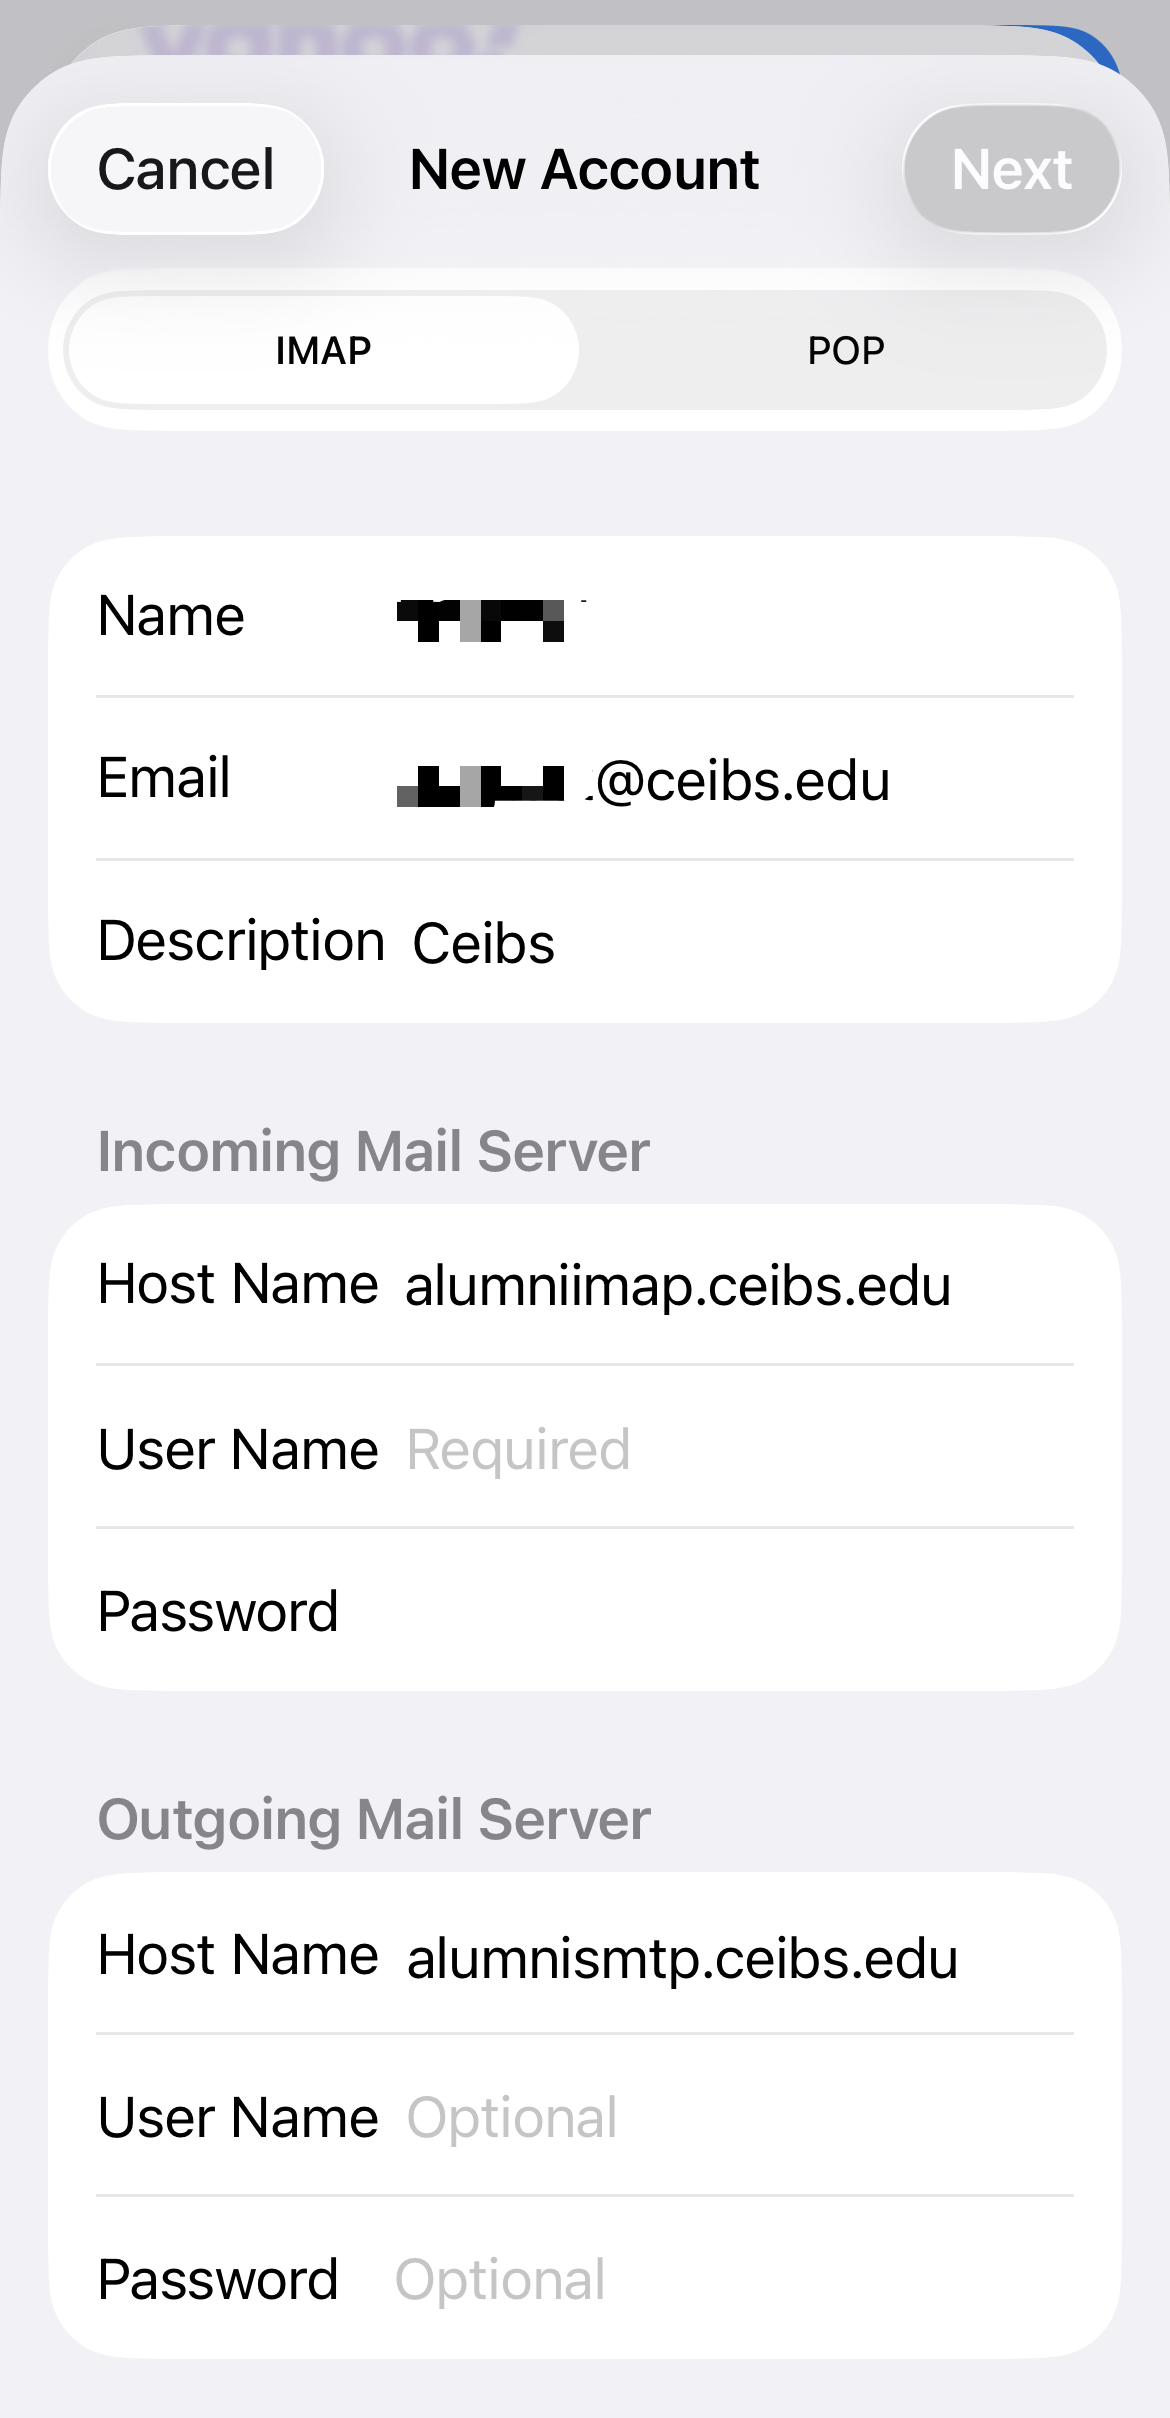
- In the pop-up window, select IMAP, then enter the details shown below in the Incoming and Outgoing Server fields.
- Incoming Mail Server Host Name:
alumniimap.ceibs.edu; - User Name: your CEIBS alumni email address;
- Password: your CEIBS alumni email password;
- Outgoing Mail Server Host Name:
alumnismtp.ceibs.edu; - User Name: your CEIBS alumni email address;
- Password: your CEIBS alumni email password.
- Tap Next.
- Incoming Mail Server Host Name:
- Wait for the email settings to connect; once set up, tap Save.
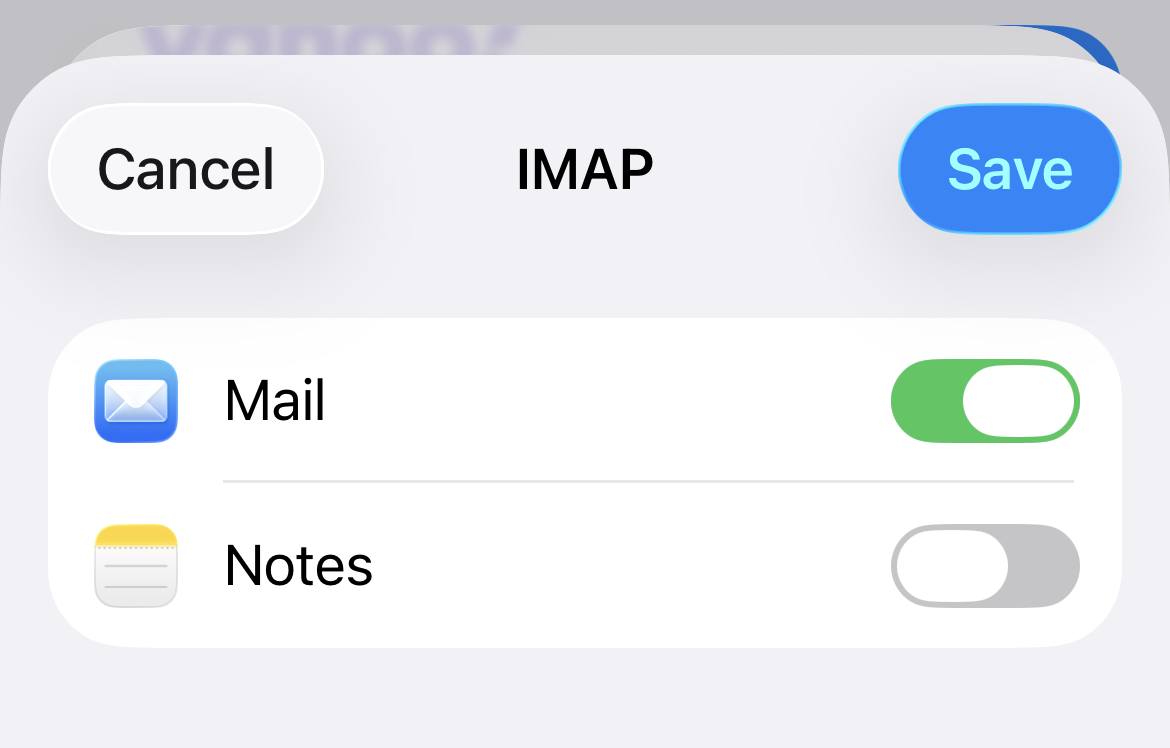
- Setup complete.
Android
- Open the Email APP.
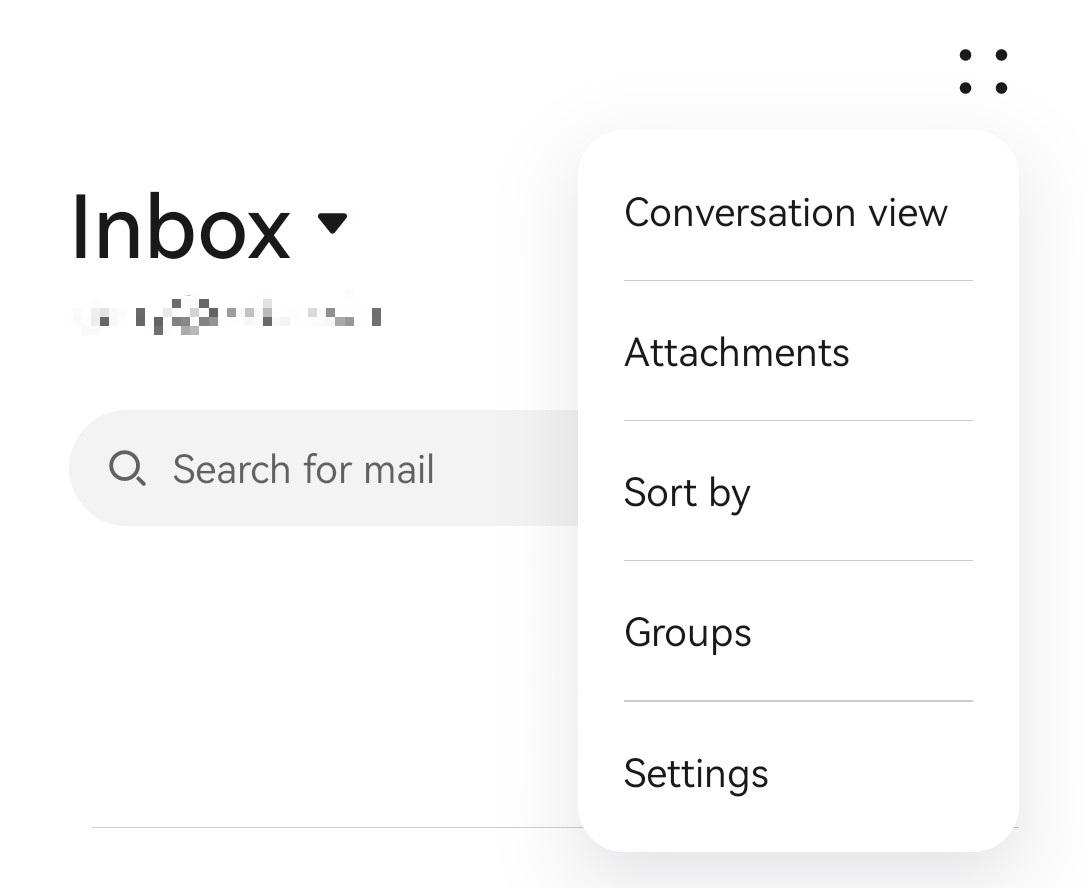
If you haven’t set up any other email accounts in your email, please skip to step 4. - Tap four dots ⸬ icon in the top-right corner and select Settings from the list that appears.
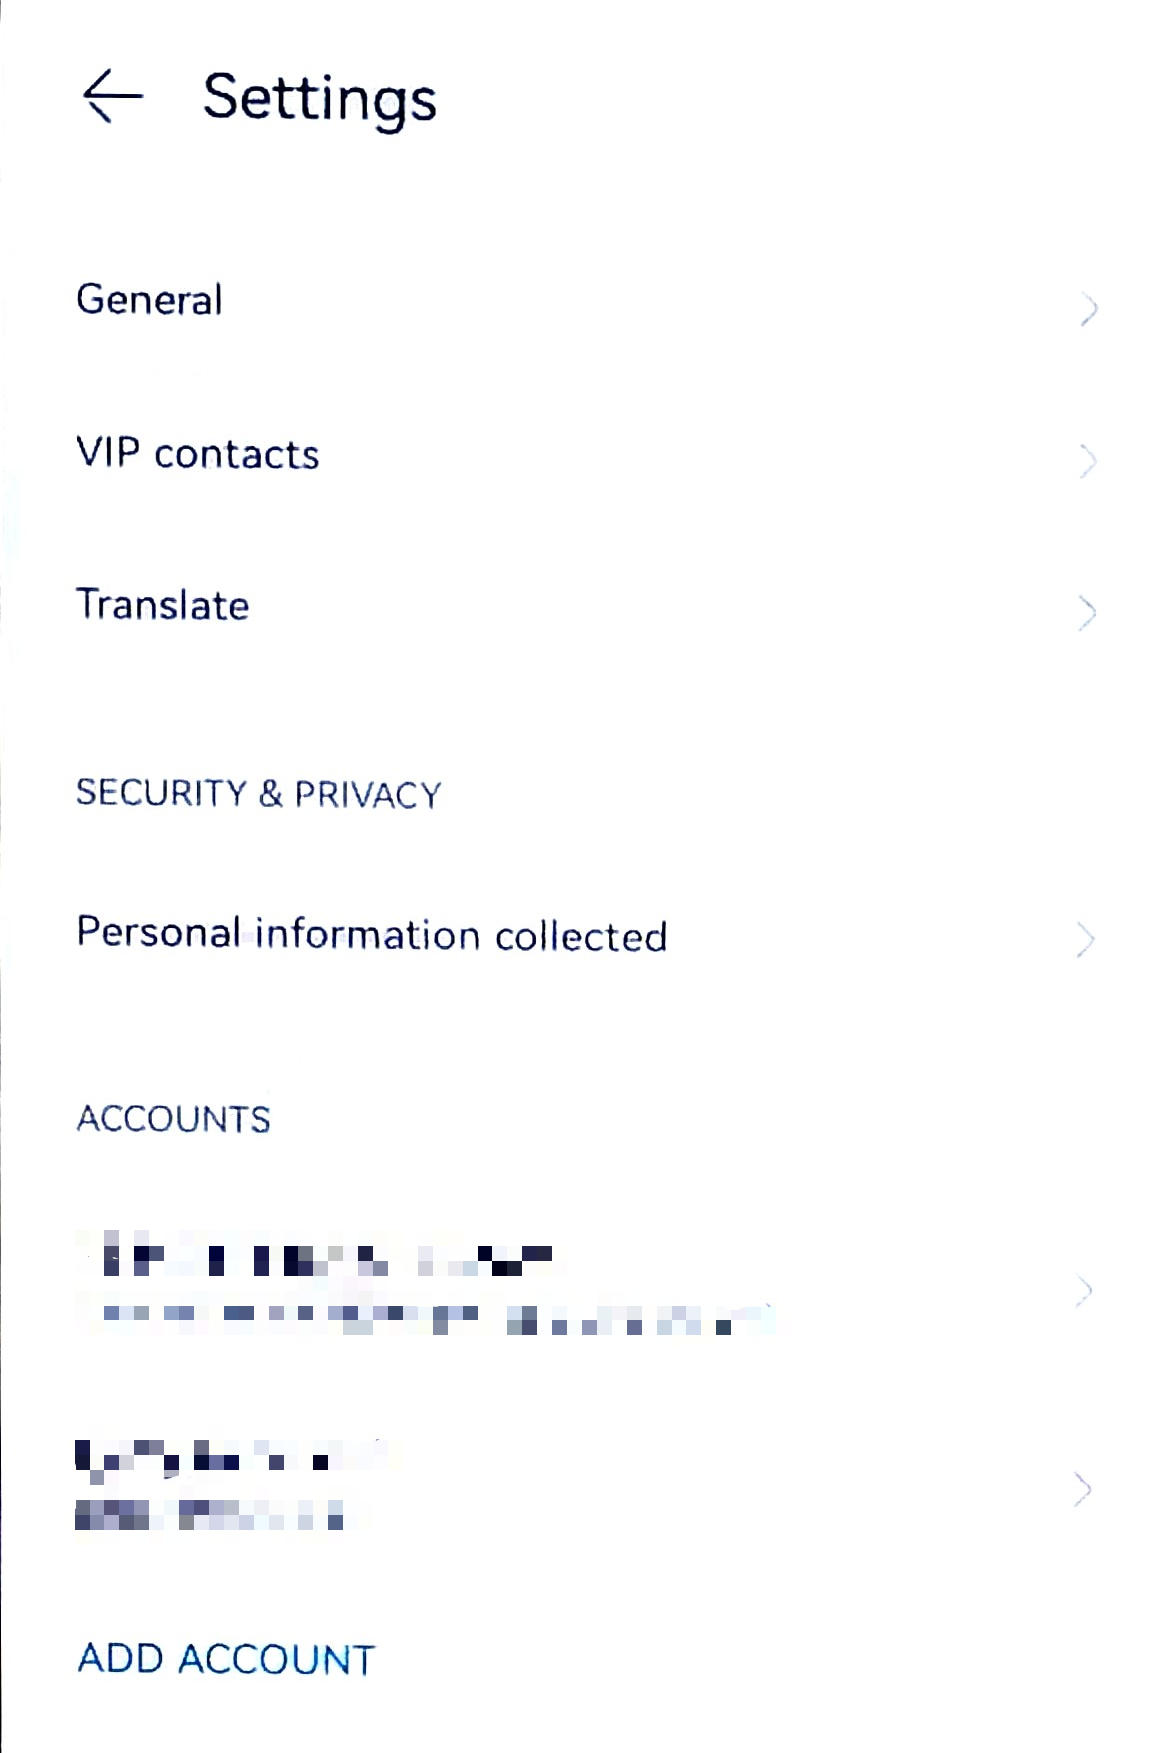
- Tap ADD ACCOUNT.
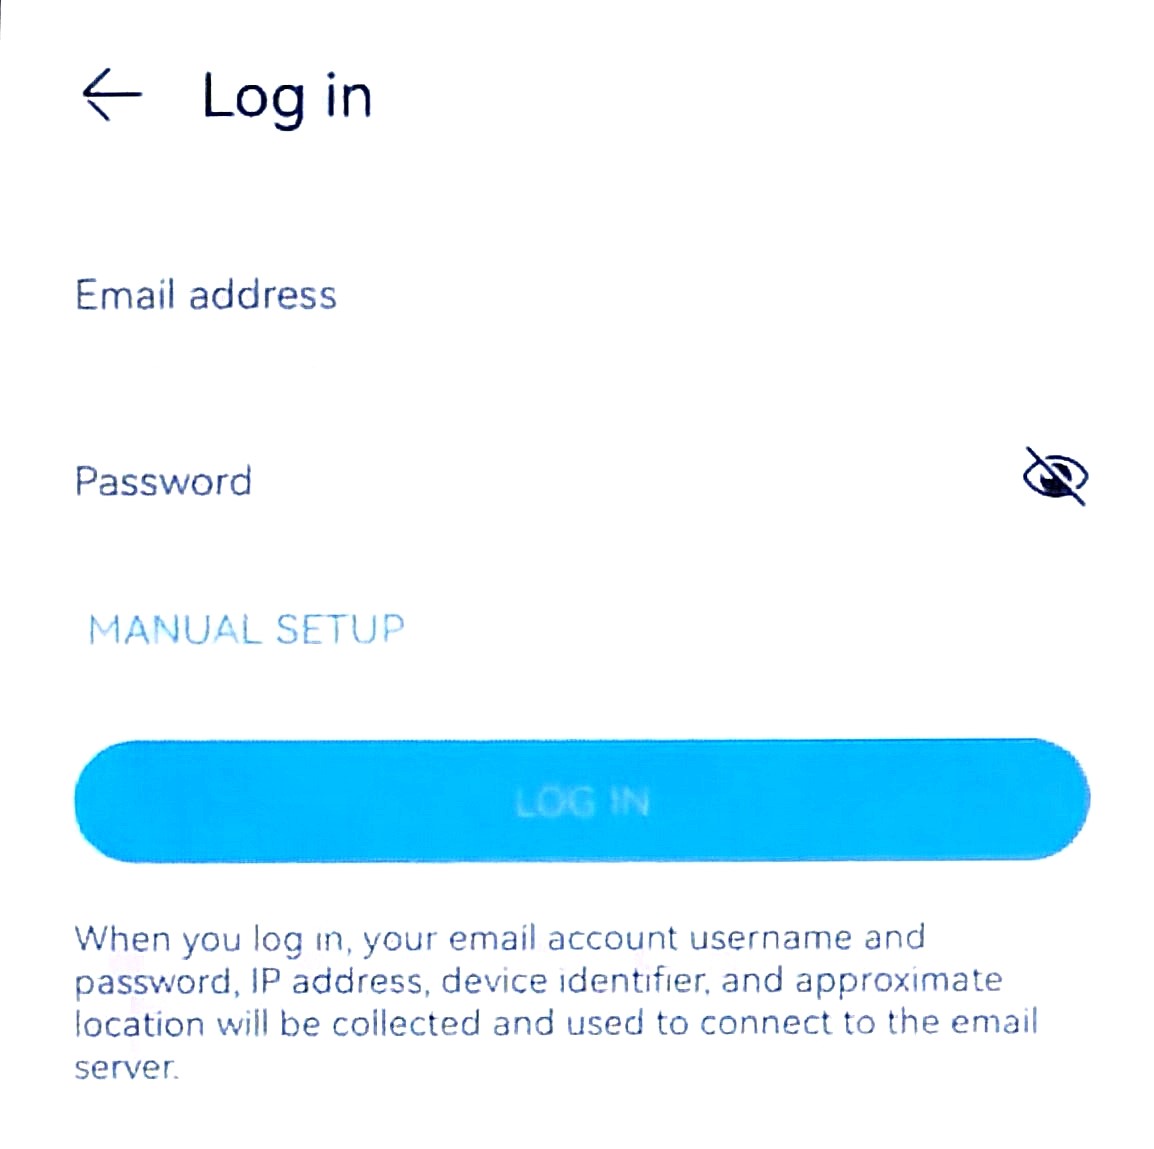
- Enter your CEIBS alumni email address in the Email address field, enter your CEIBS alumni email password in the password field, and tap MANUAL SETUP.
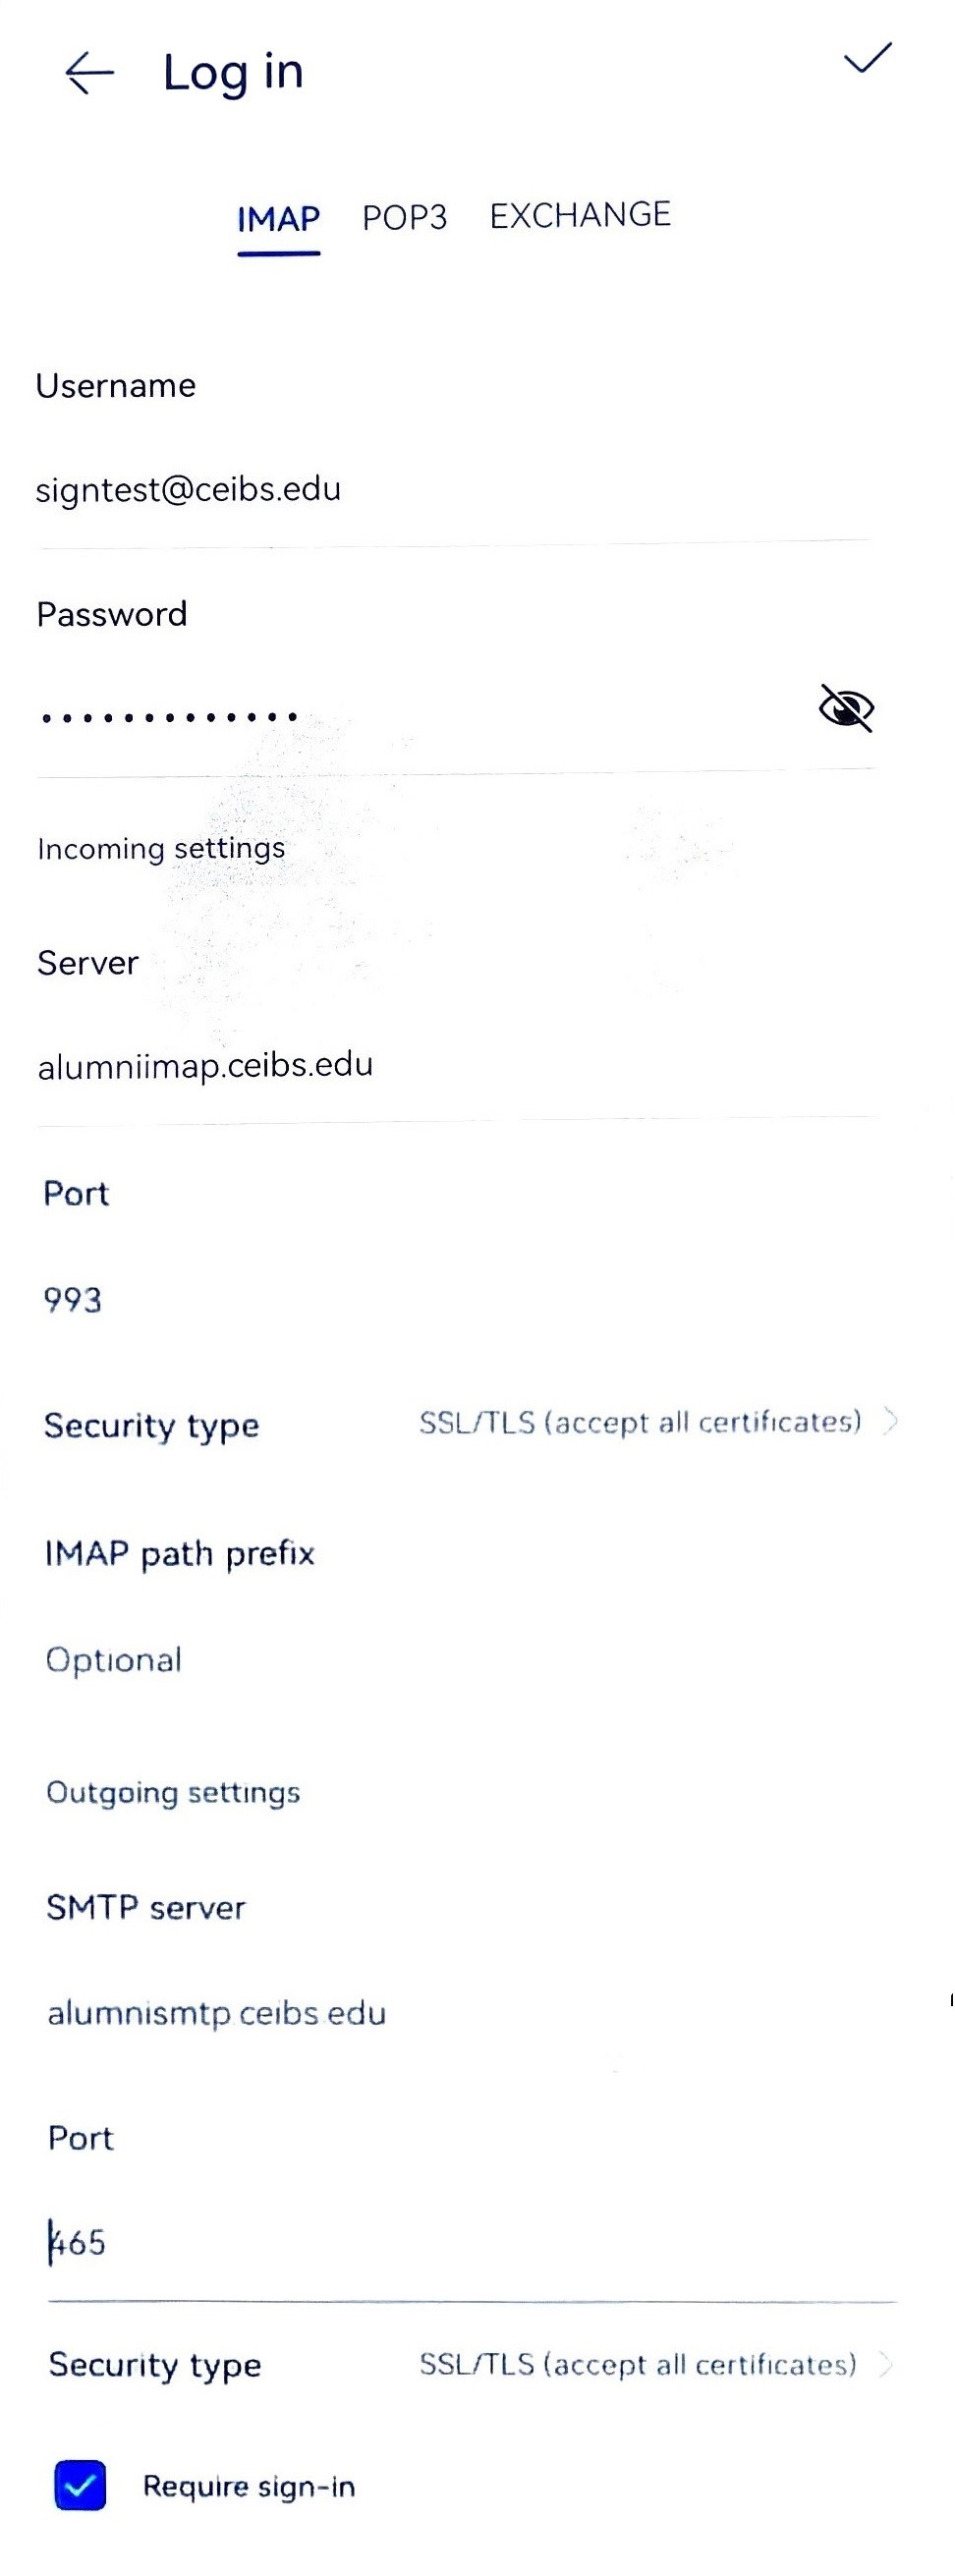
- On the account login screen, select IMAP, then enter the details shown below in the Incoming settings and Outgoing settings fields.
- Incoming settings Server:
alumniimap.ceibs.edu; - Port:
993; - Security type: SSL/TLS (accept all certificates);
- Outgoing settings SMTP server:
alumnismtp.ceibs.edu; - Port:
465; - Security type: SSL/TLS (accept all certificates);
- Tick the box for Require sign-in.
- Tap tick ✔ icon in the top-right corner.
- Incoming settings Server:
- Tick the box next to Sync emails , then tap Next.
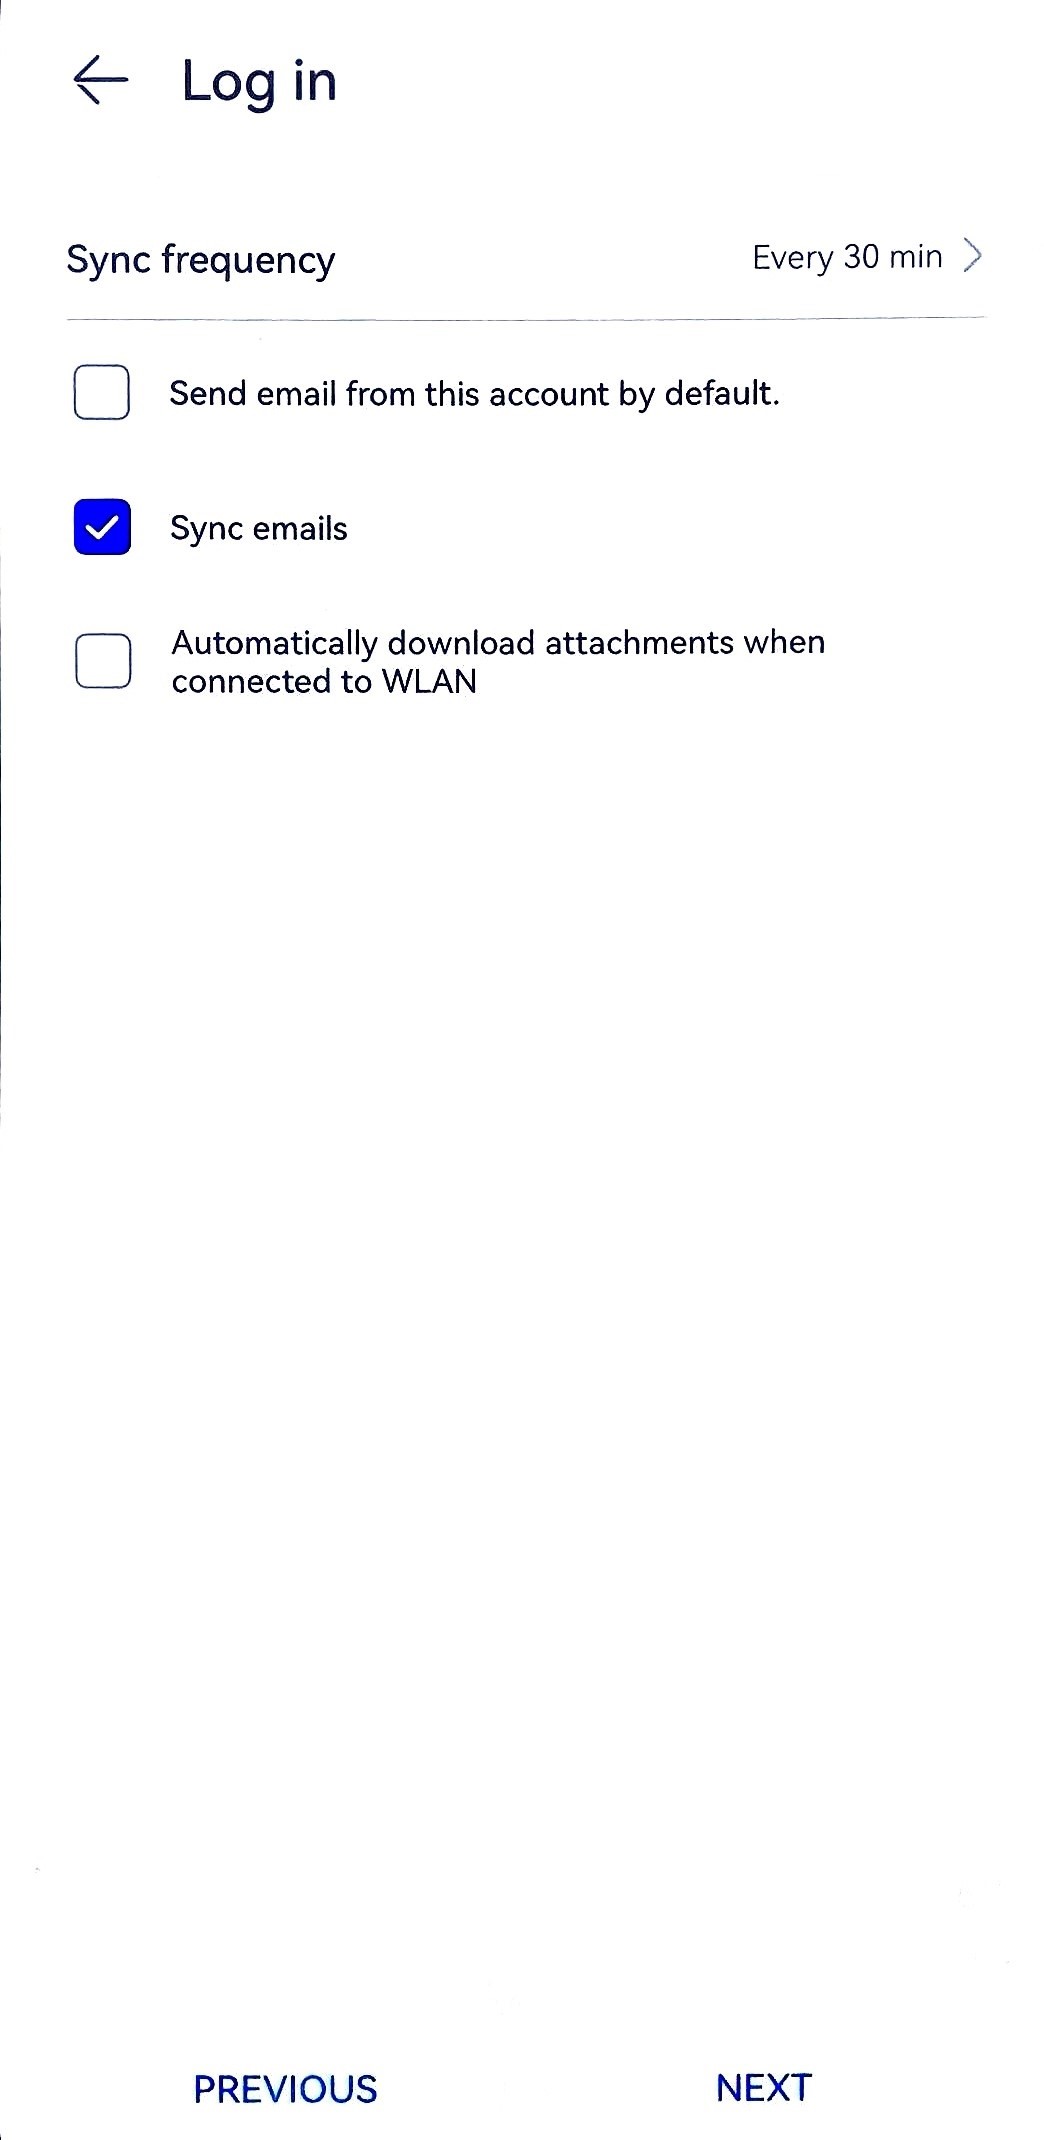
- Setup complete.